Robotseed laser cutter
How to work with the lasercutter :
Design(Visicut)
1.Open your design in Inkscape,bitmap trace your design and export it in .SVG file
2.Download Visicut to covert .SVG to G-Code
3.Open your .SVG file in Visicut
4.Center your design in the position option
5.In the mapping option you can select what you want to do with the lasercutter.You can cut everything, you also can engrave and much more.
6.In the laser setting option ,you can fill in the values for power ,speed and focus.
7.Also select the material thickness you are using
8.Export your file in .Gcode format
Lasercutter
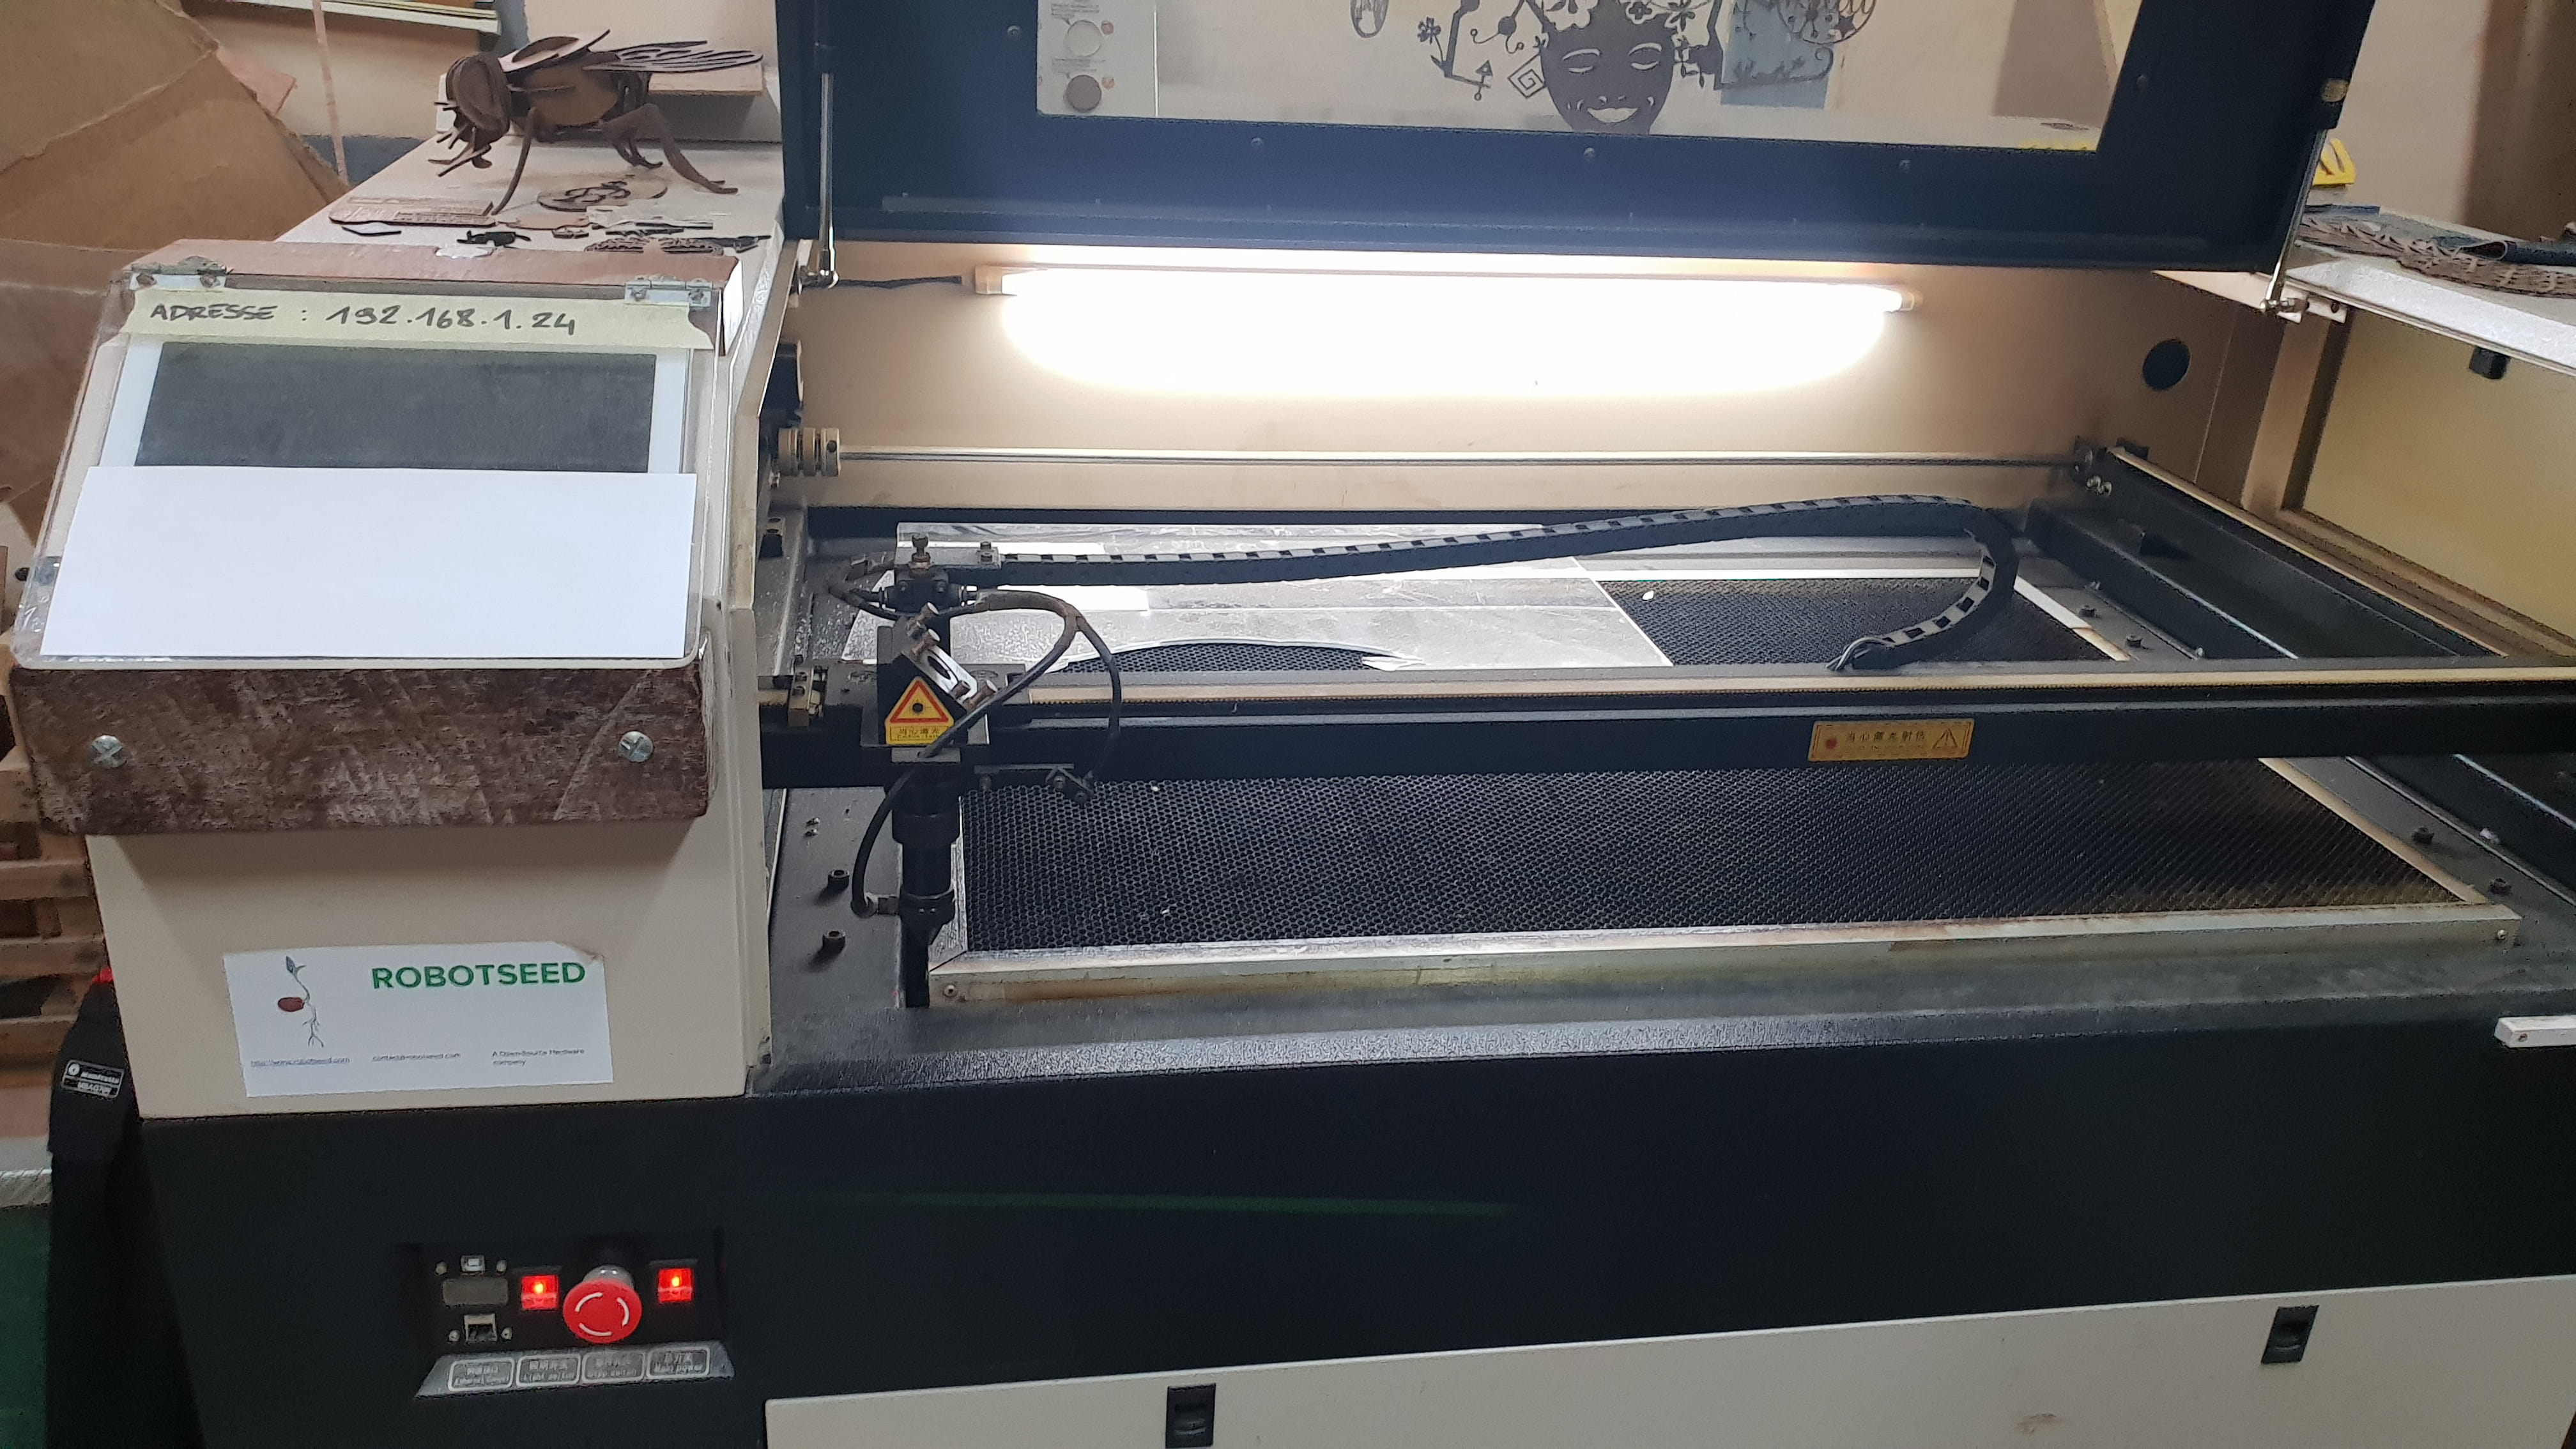
Power your lasercutter,the light in your lasercutter and also the power for the water chiller
1.Open the ip adress 192.168.1.24 in your browser and you will get the Roboseed Octoprint page to load your file for the lasercutter
2.At the laser cutter search for your file in the tablet
3.Place your material on the surface and put a magnet to hold your material
4.Center your laser on the material with a piece of koper
5.Close the lasercutter door and click on print
Group assignment(Read more about the group assignment.)
Characterize the lasercutter :
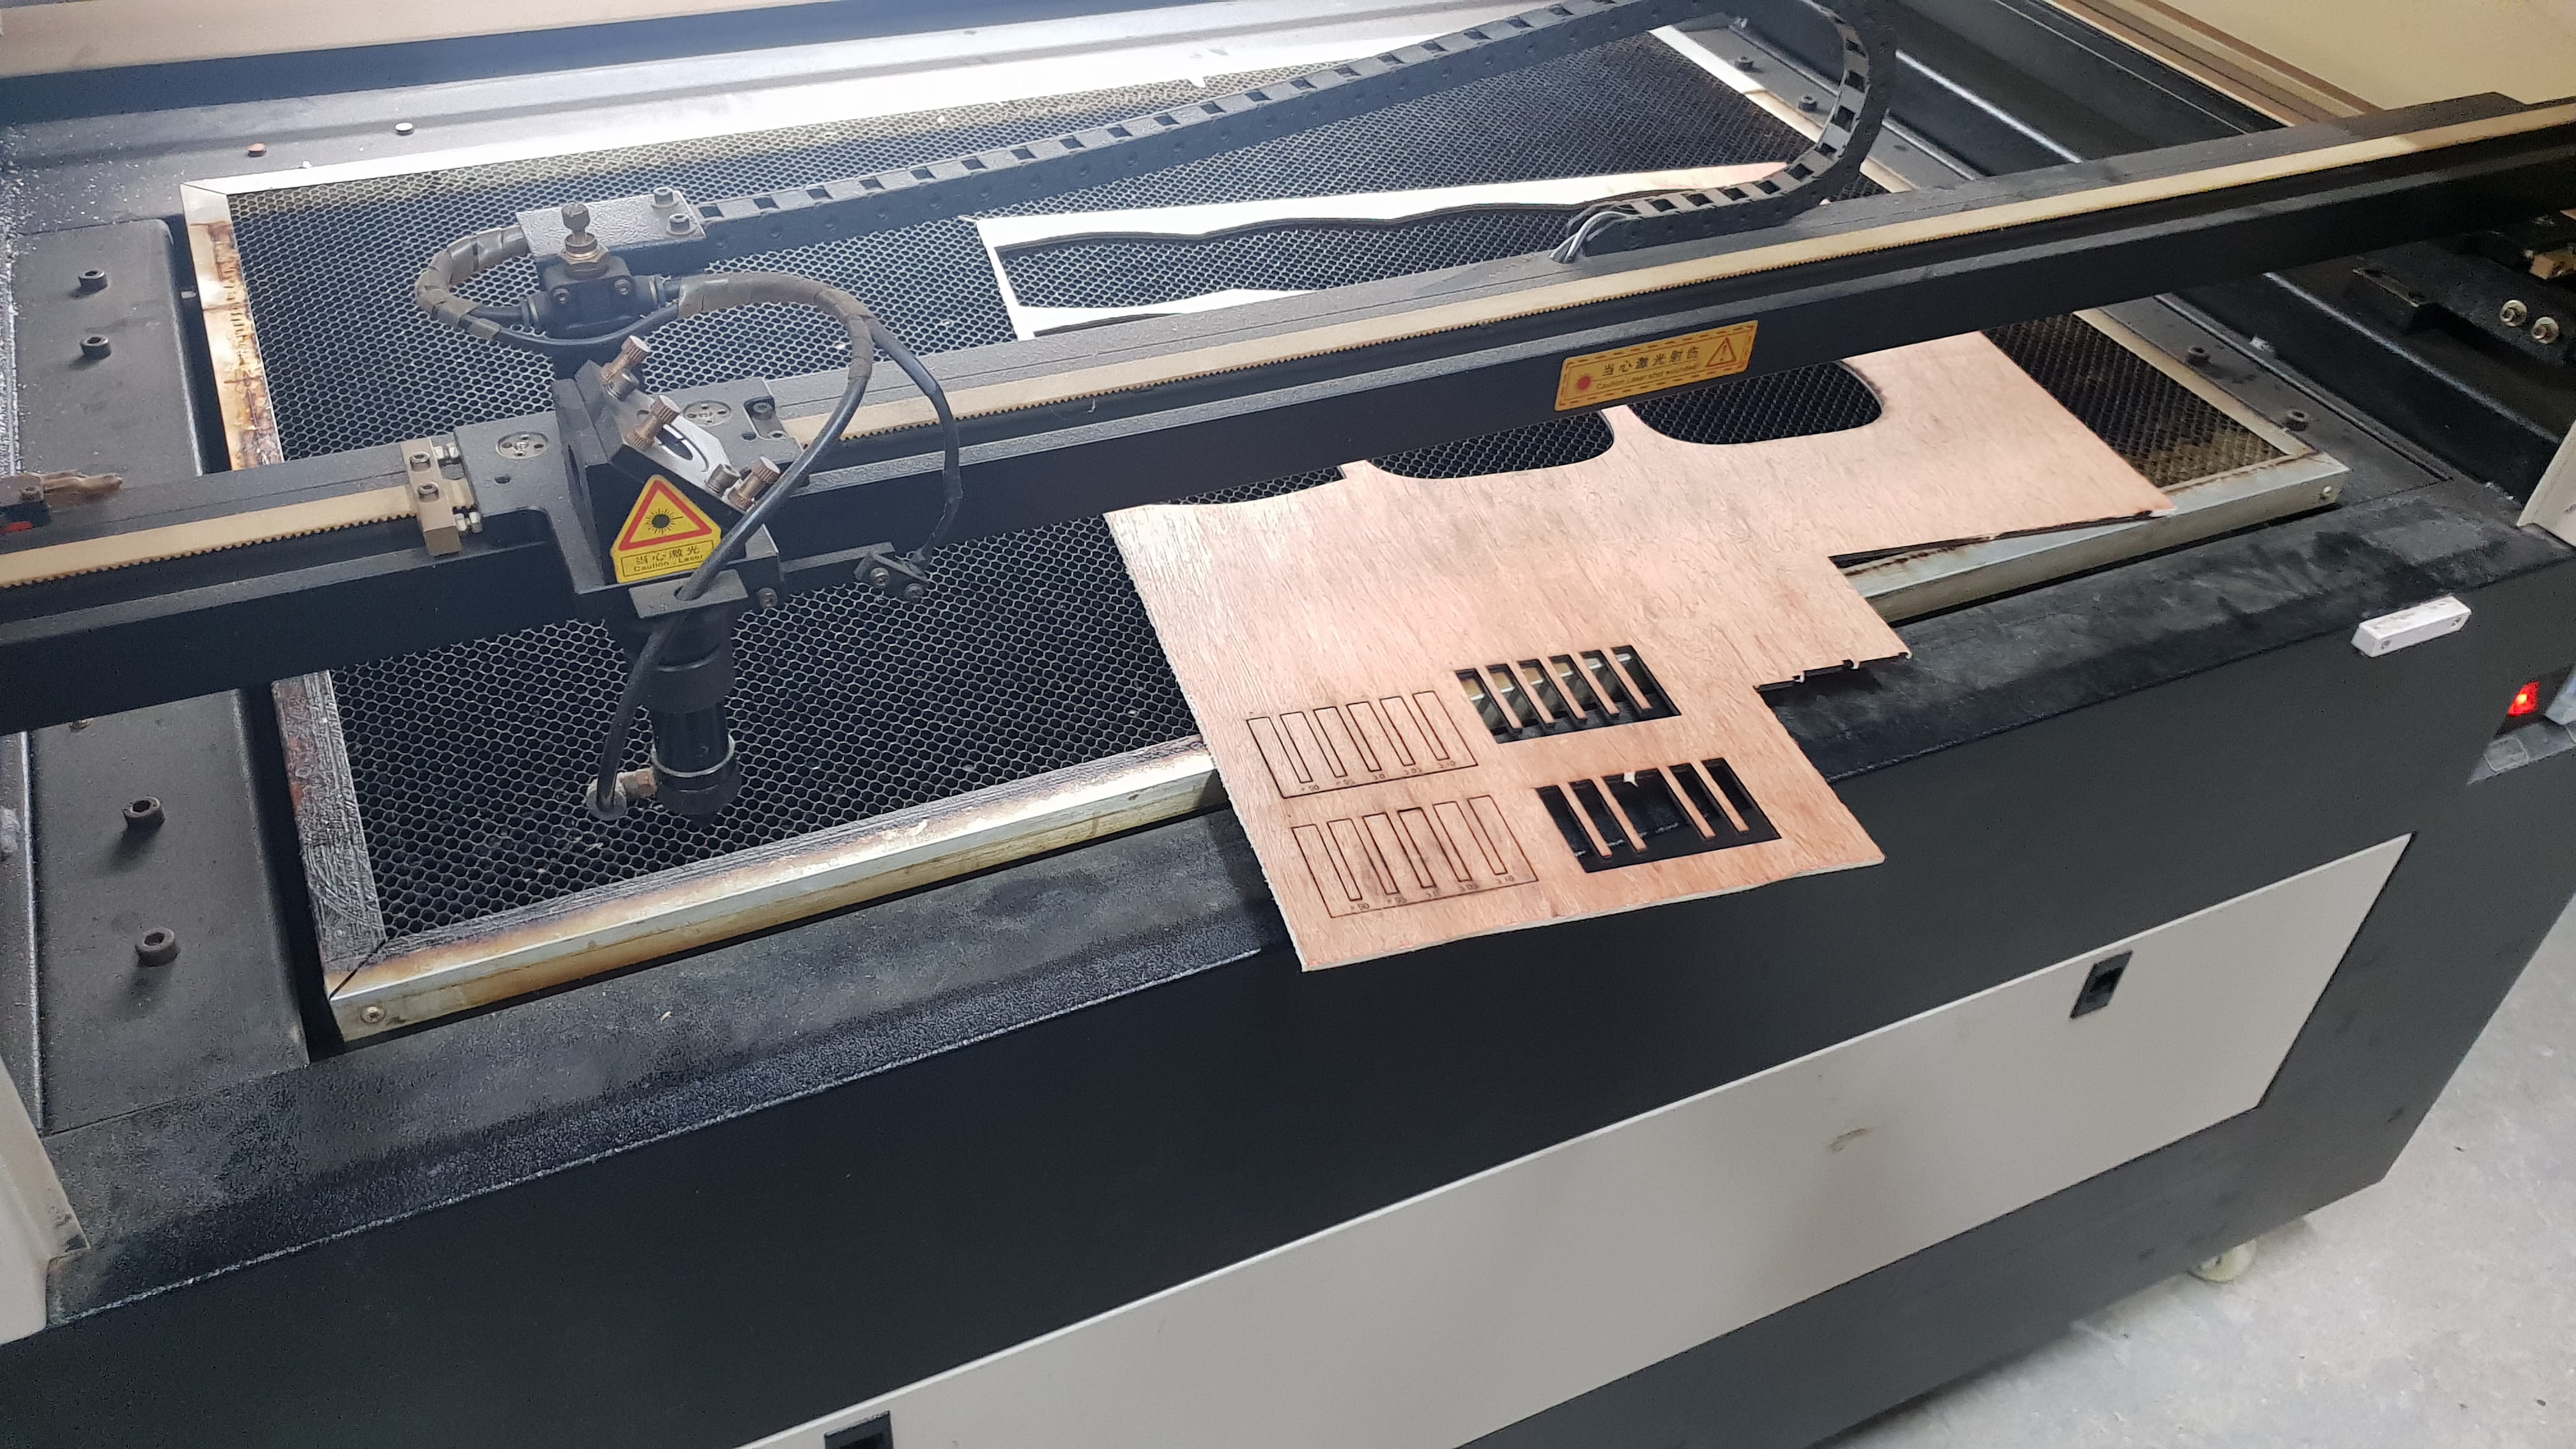
The lasercutter we used is called the Robotseed laser cutter.
First test: Different Power and same speed
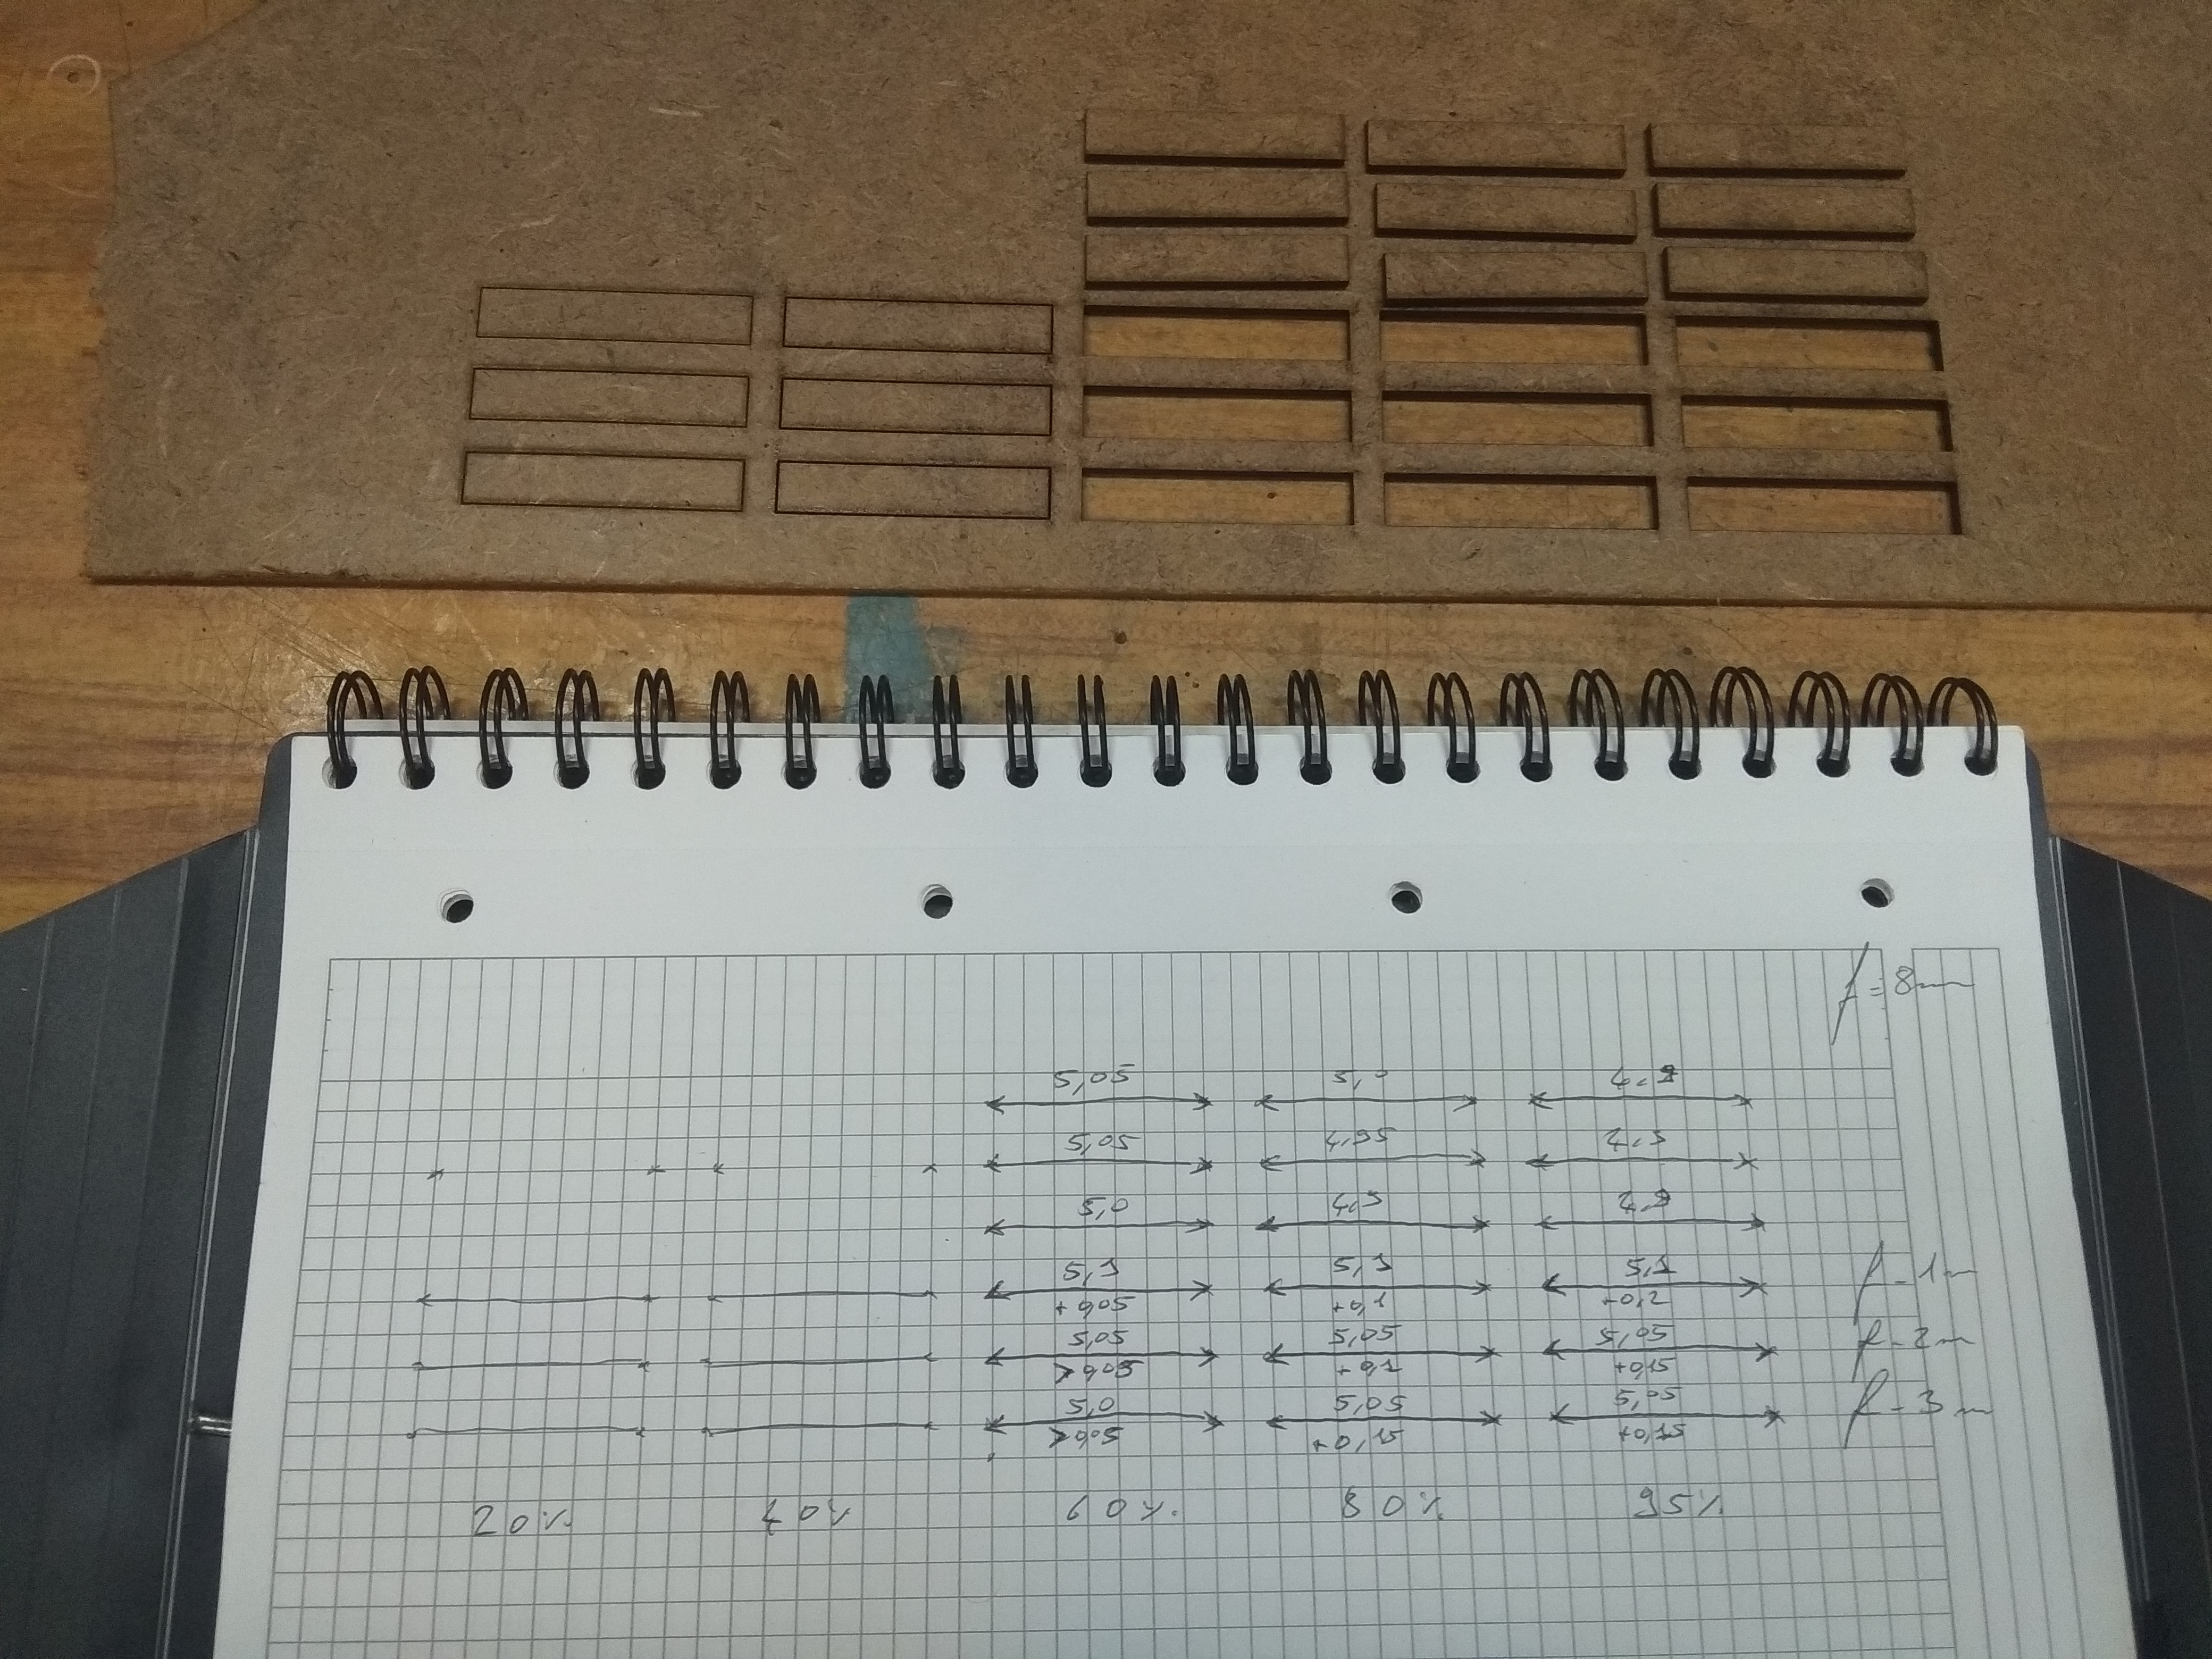
We made rectangles that optimized by length side by side and let the lasercutter cut the rectangles with the same speed but with different power and also different focus.The speed we used to cut is 20% and the power we used to cut the pieces are 20%,40%,60%,80% and 95%.We used different power because we wanted to compare the cuts by different powers.The edges at each power cut looks a little bit more burned and at some power it didn't cut thru the material.The material thickness is 2.2mm.
Second Test:with Triagles,Cirkels and Squares
We did also more test but this time with triangles ,cirkels and squares to compare the cutting edge and also the kerf.We did the same like the other test to cut with the same speed but different power and the outcome was the same.How much more power you put it how much more burn edge you get.
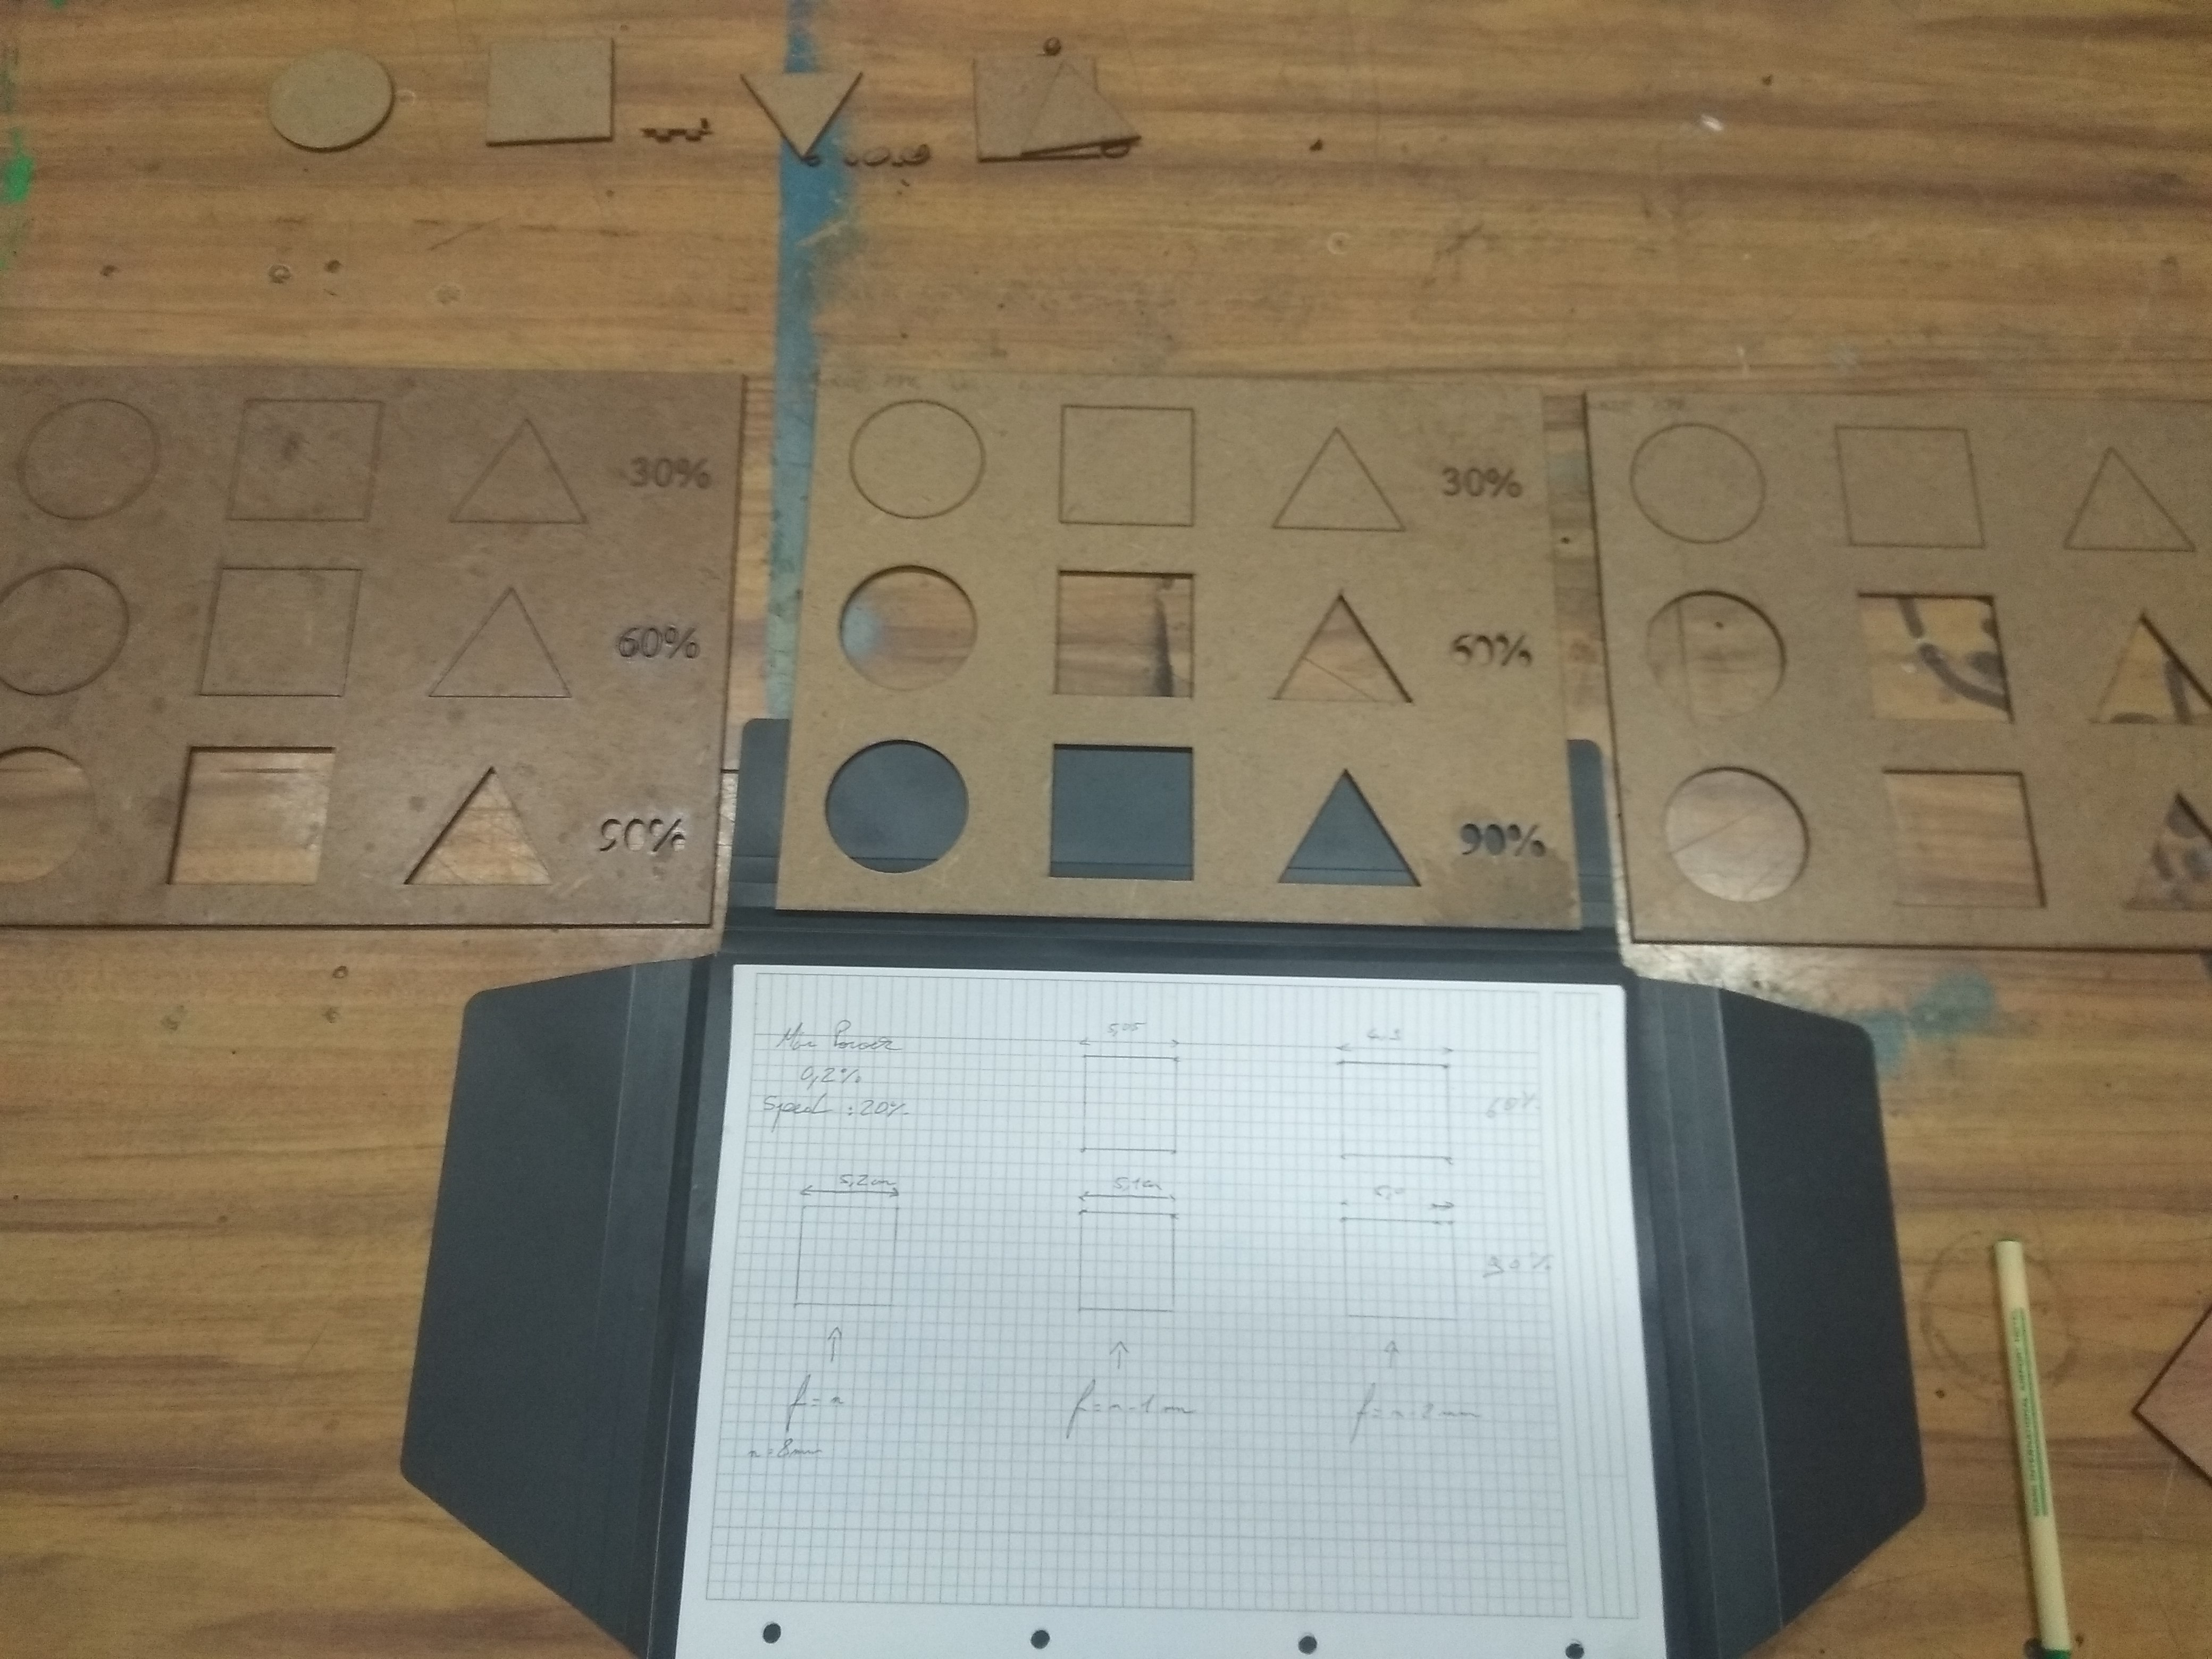
We did the test 3 times but with different focus and in the picture above you can see that how the cuts came out.That some of the material came off at the cut with power of 60%.
Read more about week the group assignment!
Invidual assignment
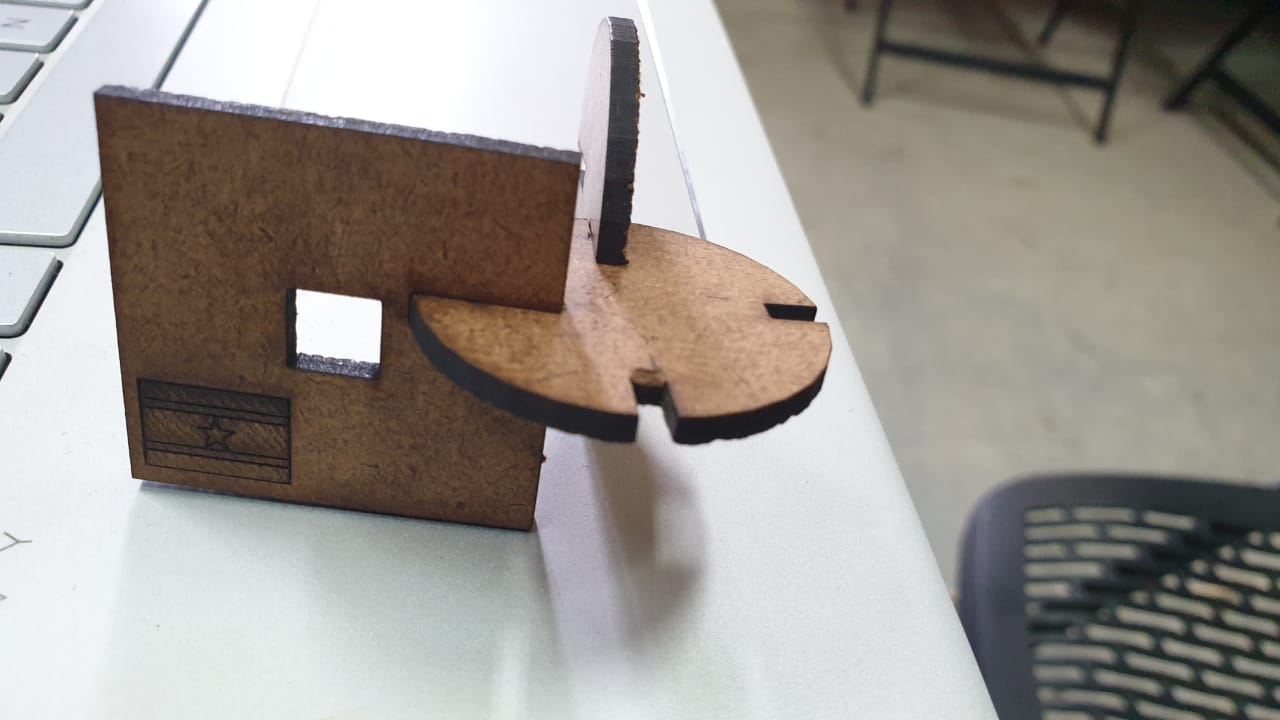
For our invidual assignment we needed to make our own design pressfit.I made my design in openscad and my logo in Inkscape.I also made test cuts before cutting the original pressfit.
To make my design i used openscad and openscad is a software that you have to program your design.Here are the codes i used to make the design of my pressfit parts.
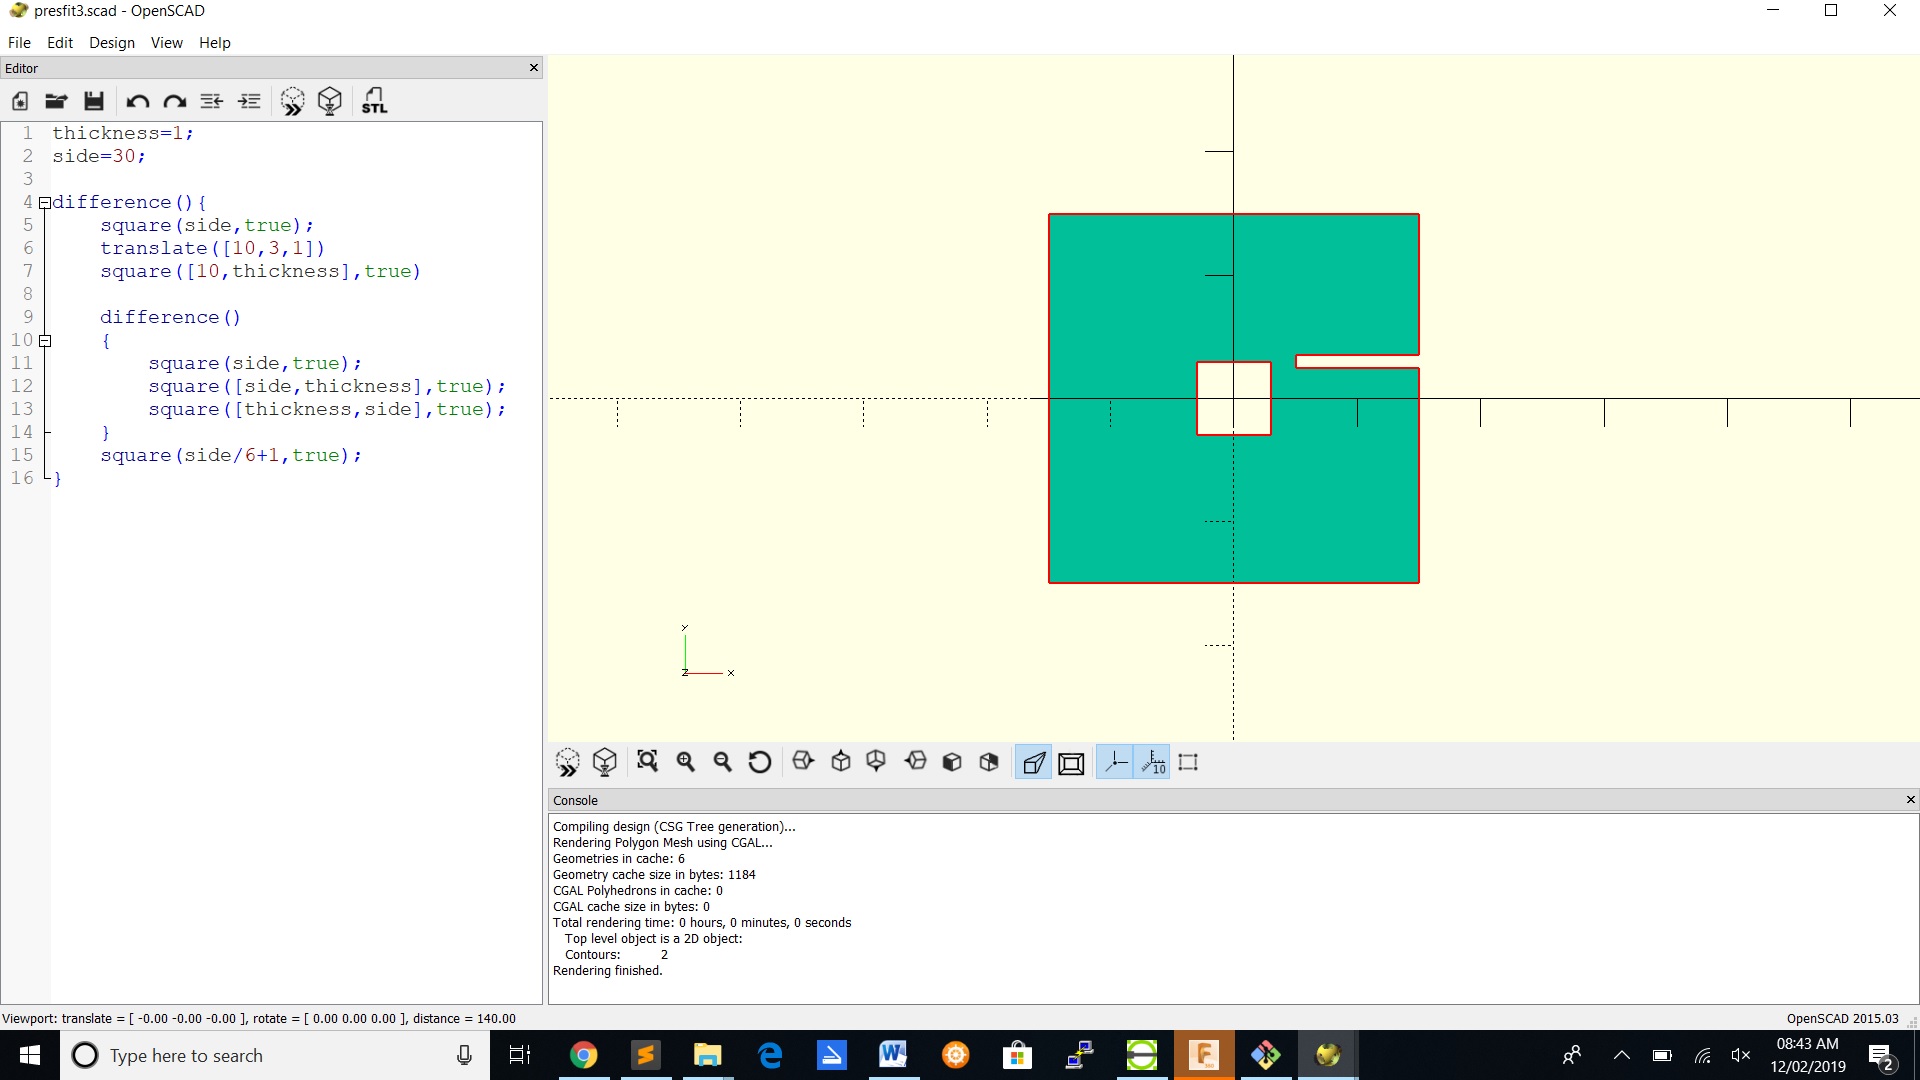
In this design i created a square that the size is 30mm.This design also has another square in the middle and on the end side cuts to pressfit with other parts.
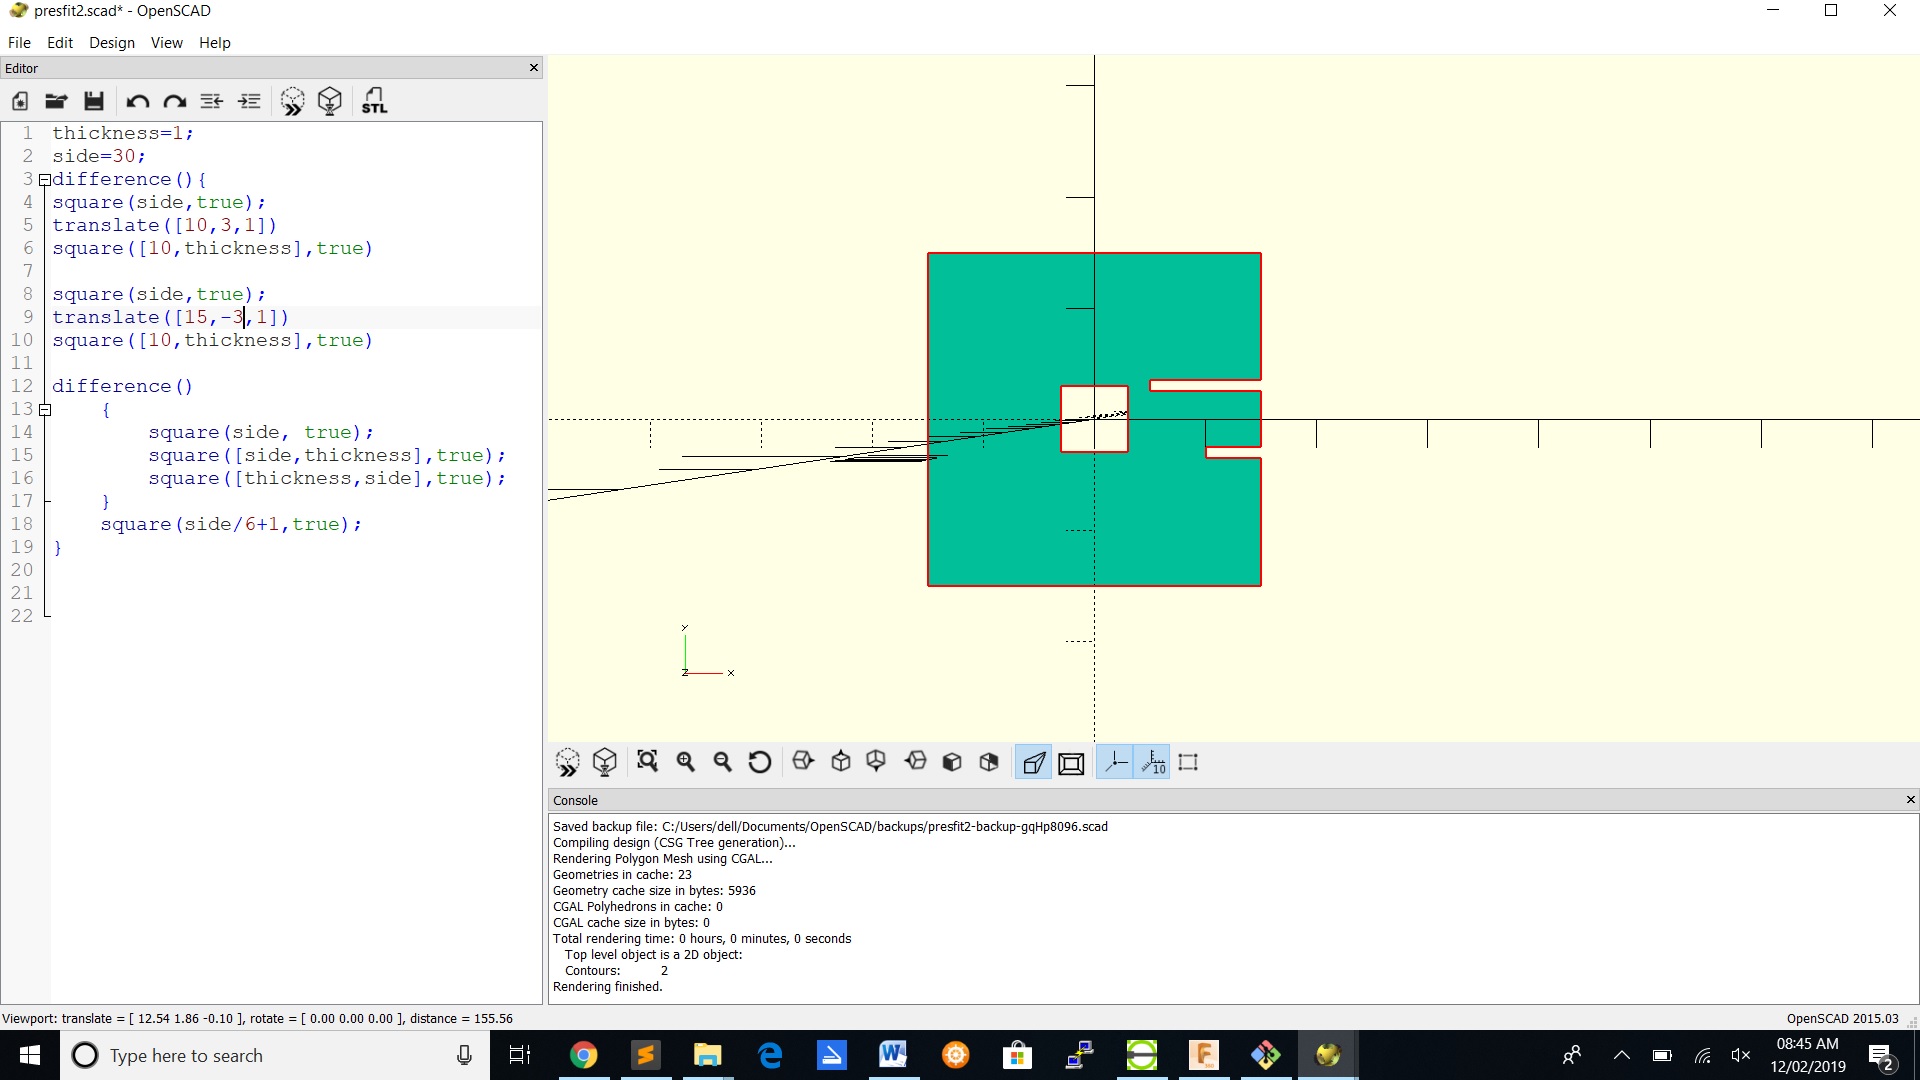
Same concept here but more side cuts to fit more pressfits.
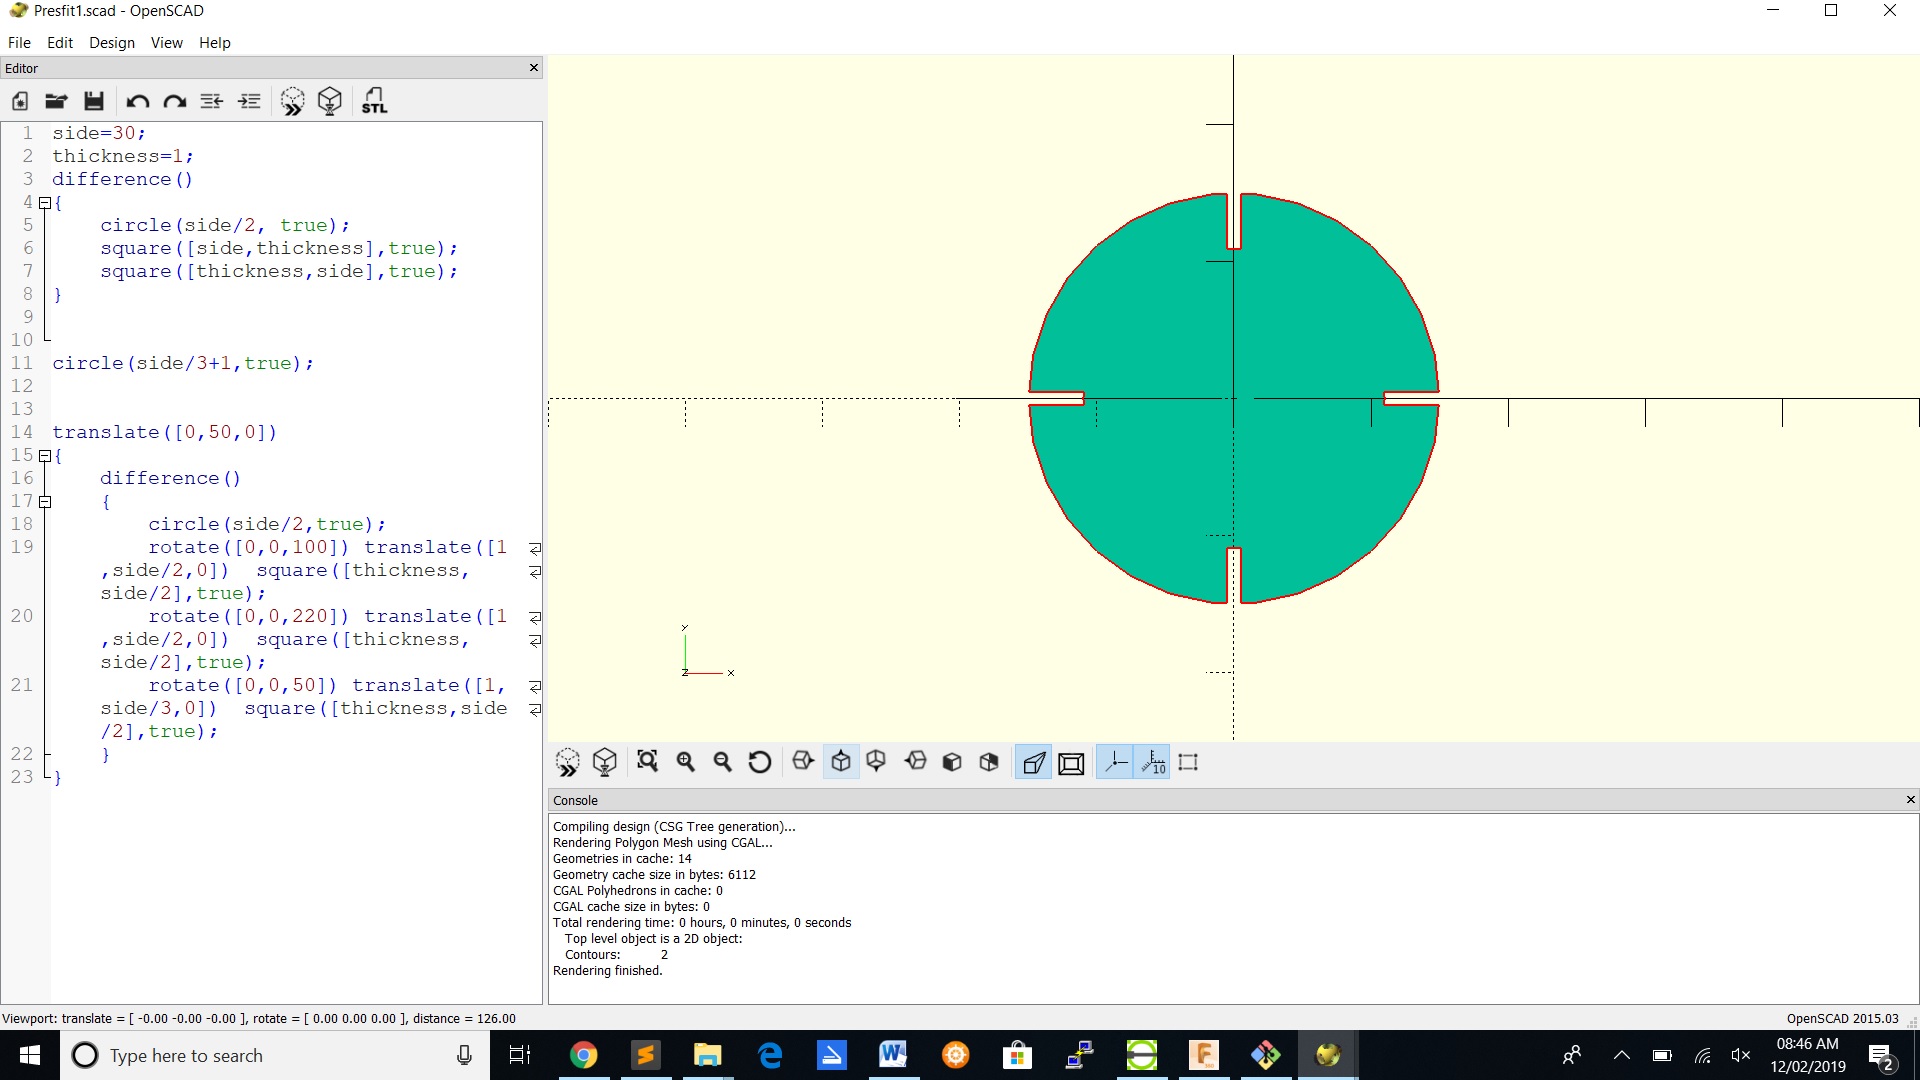
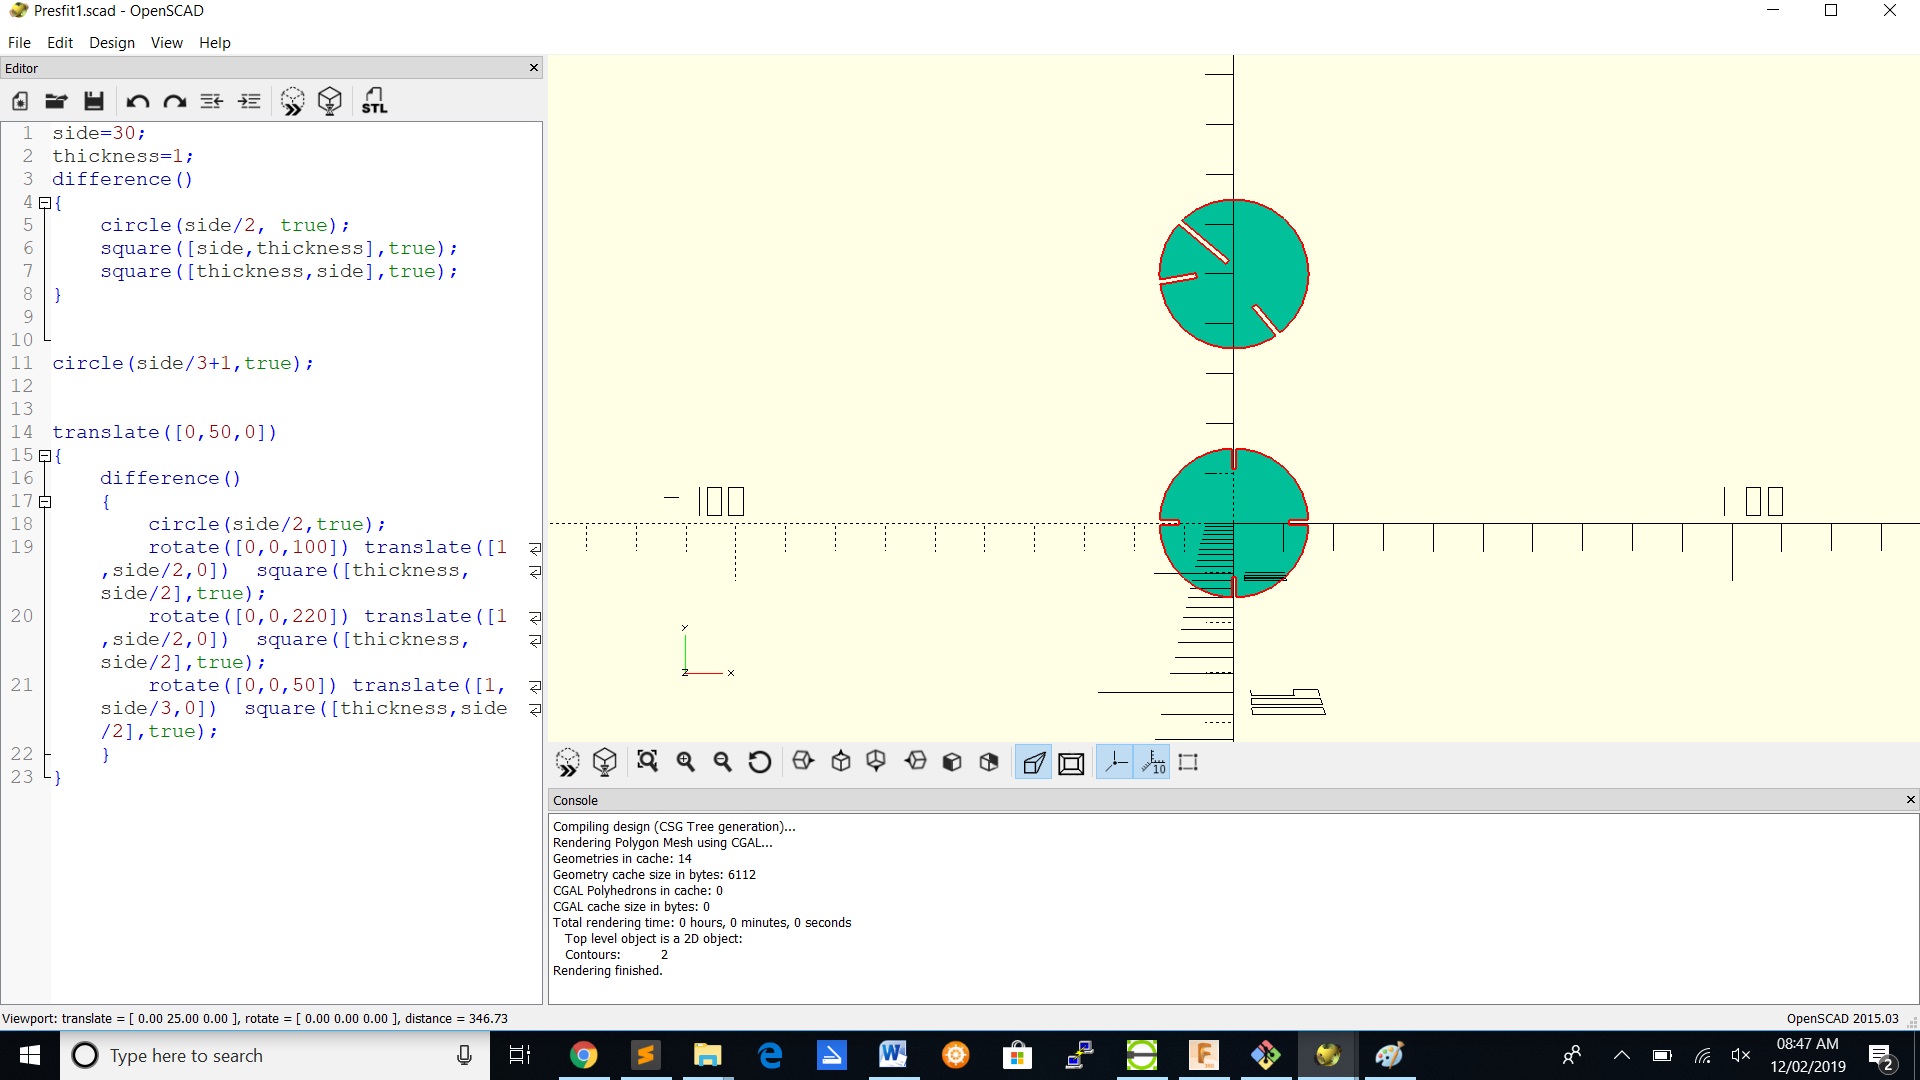
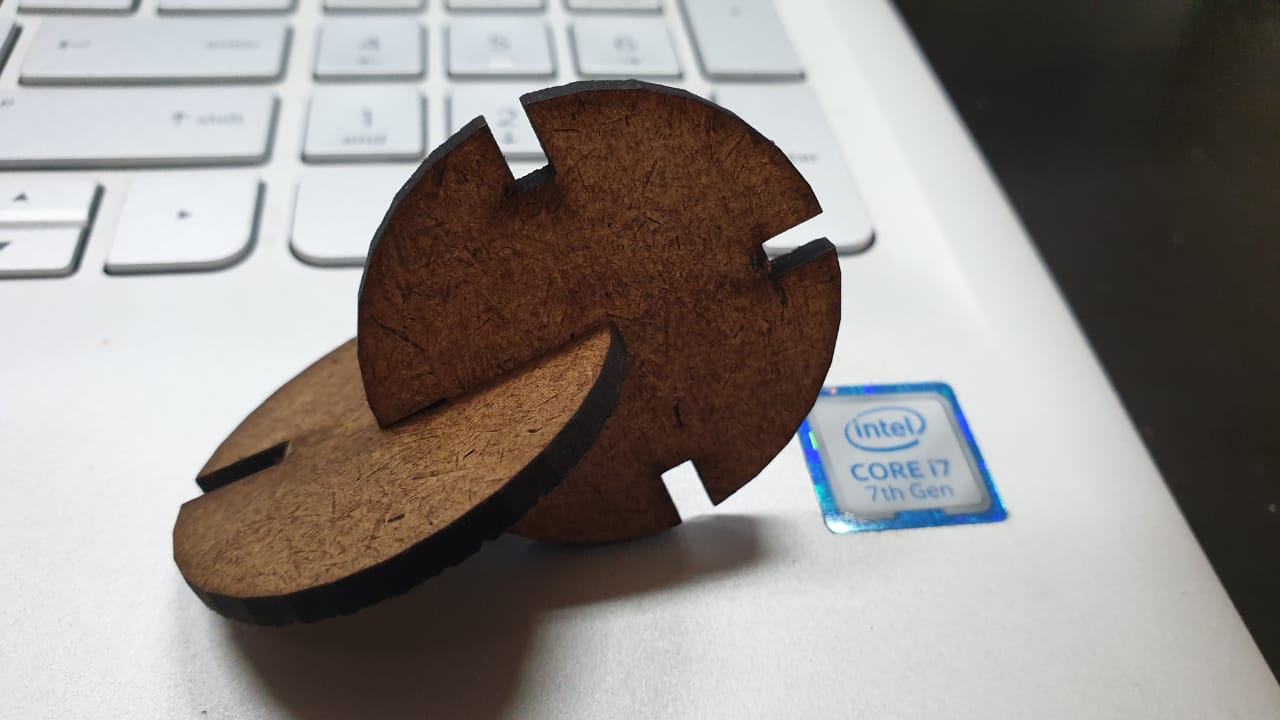
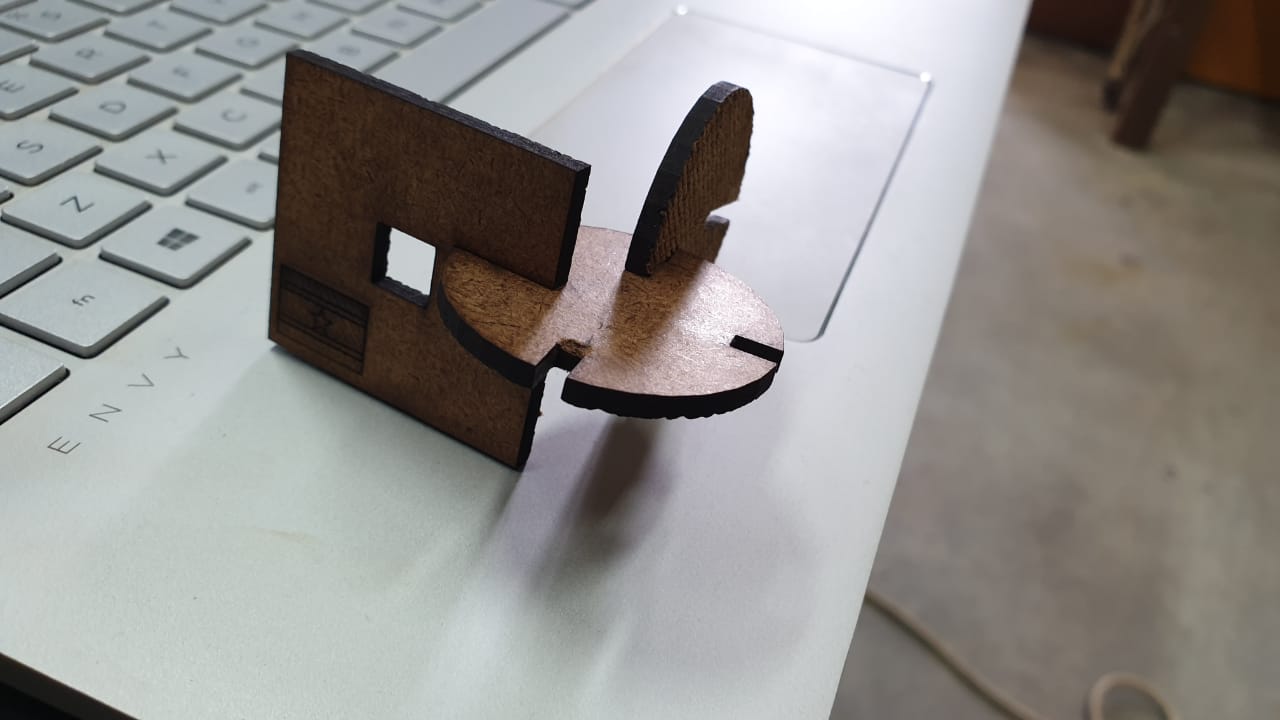
So accounting for the lasercutter kerf i designed rounded shapes for my pressfit to be assembled in multiple ways.
This video presents you a simple pressfit design in openscad.
This is the outcome of my pressfit with a material of cardboard of 3mm.
Cheatsheet Openscad!
Vinyl cutter
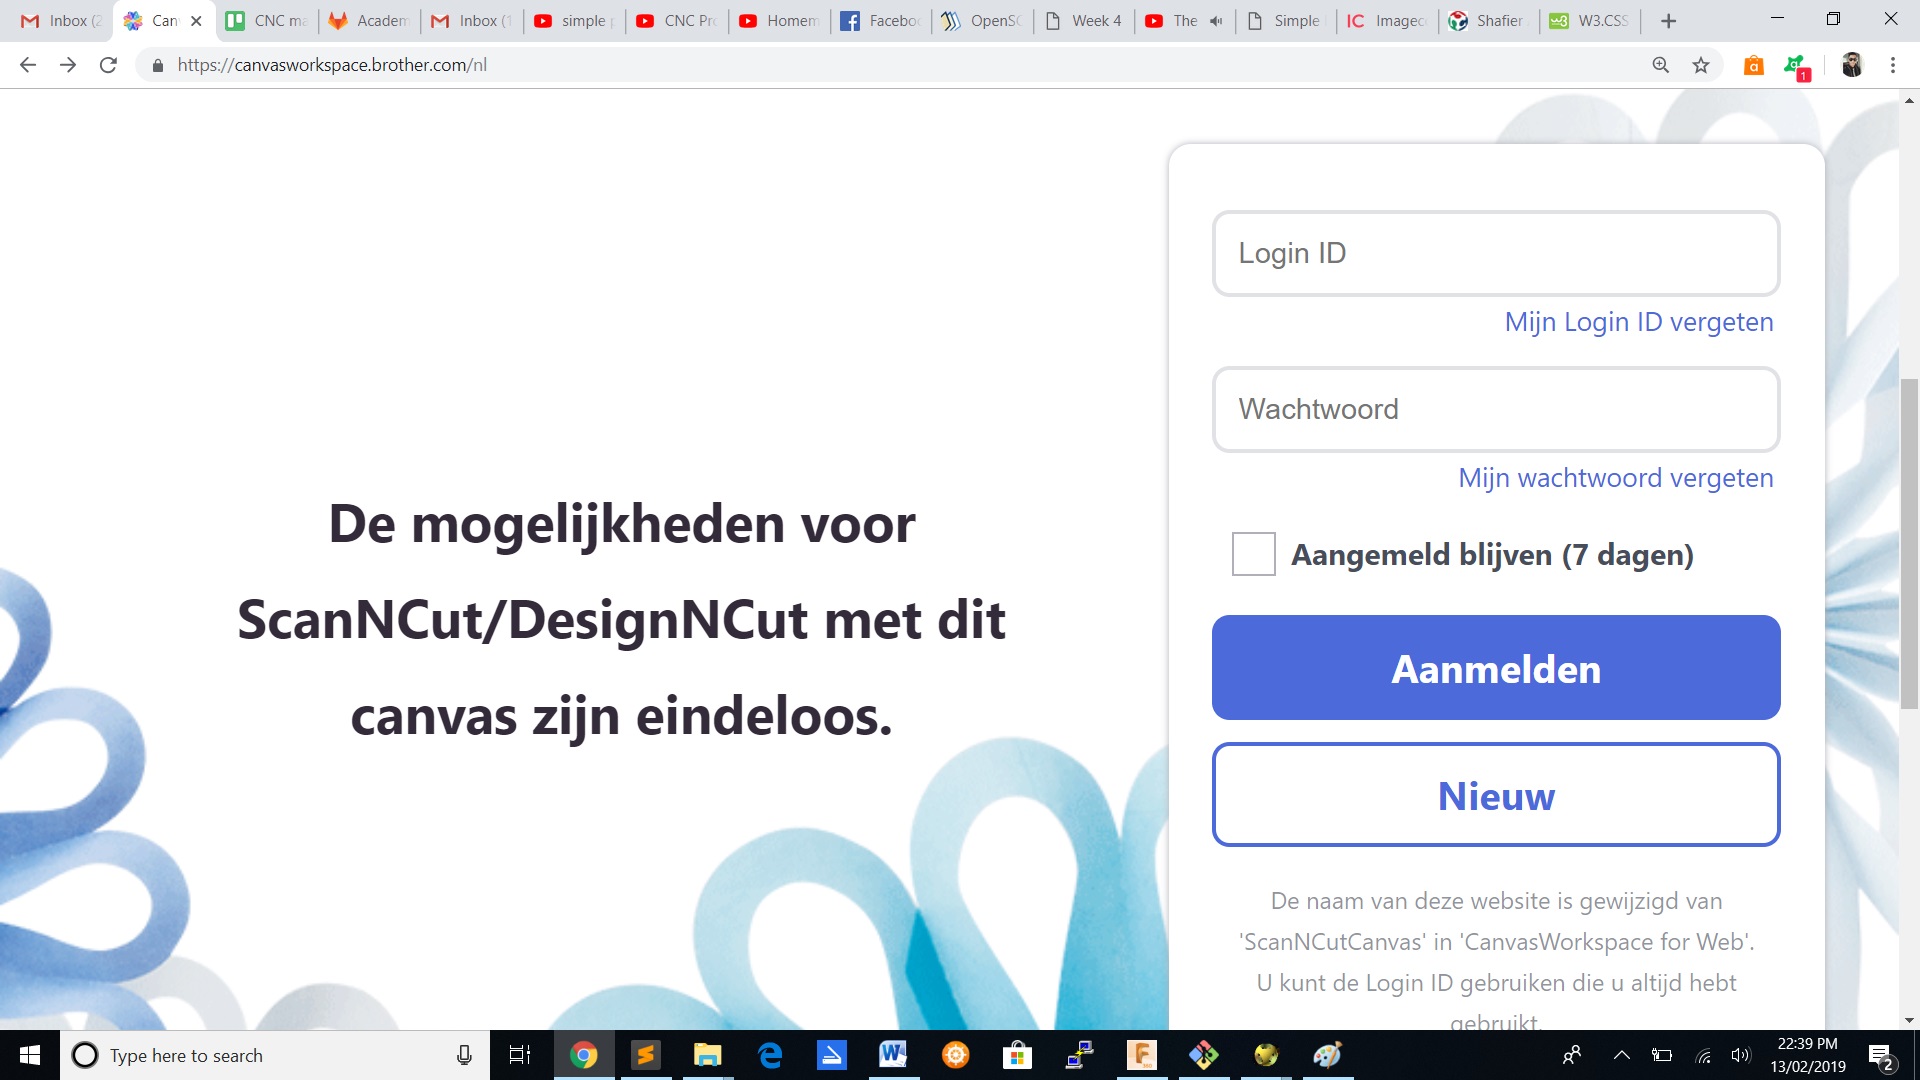
For the vinyl cutter we made an account in canvasworkspace.com where you have to fill in :
1. Login ID
2. Password
3. Emailadress
4. Country
5. Birth date
6. Gender
Design
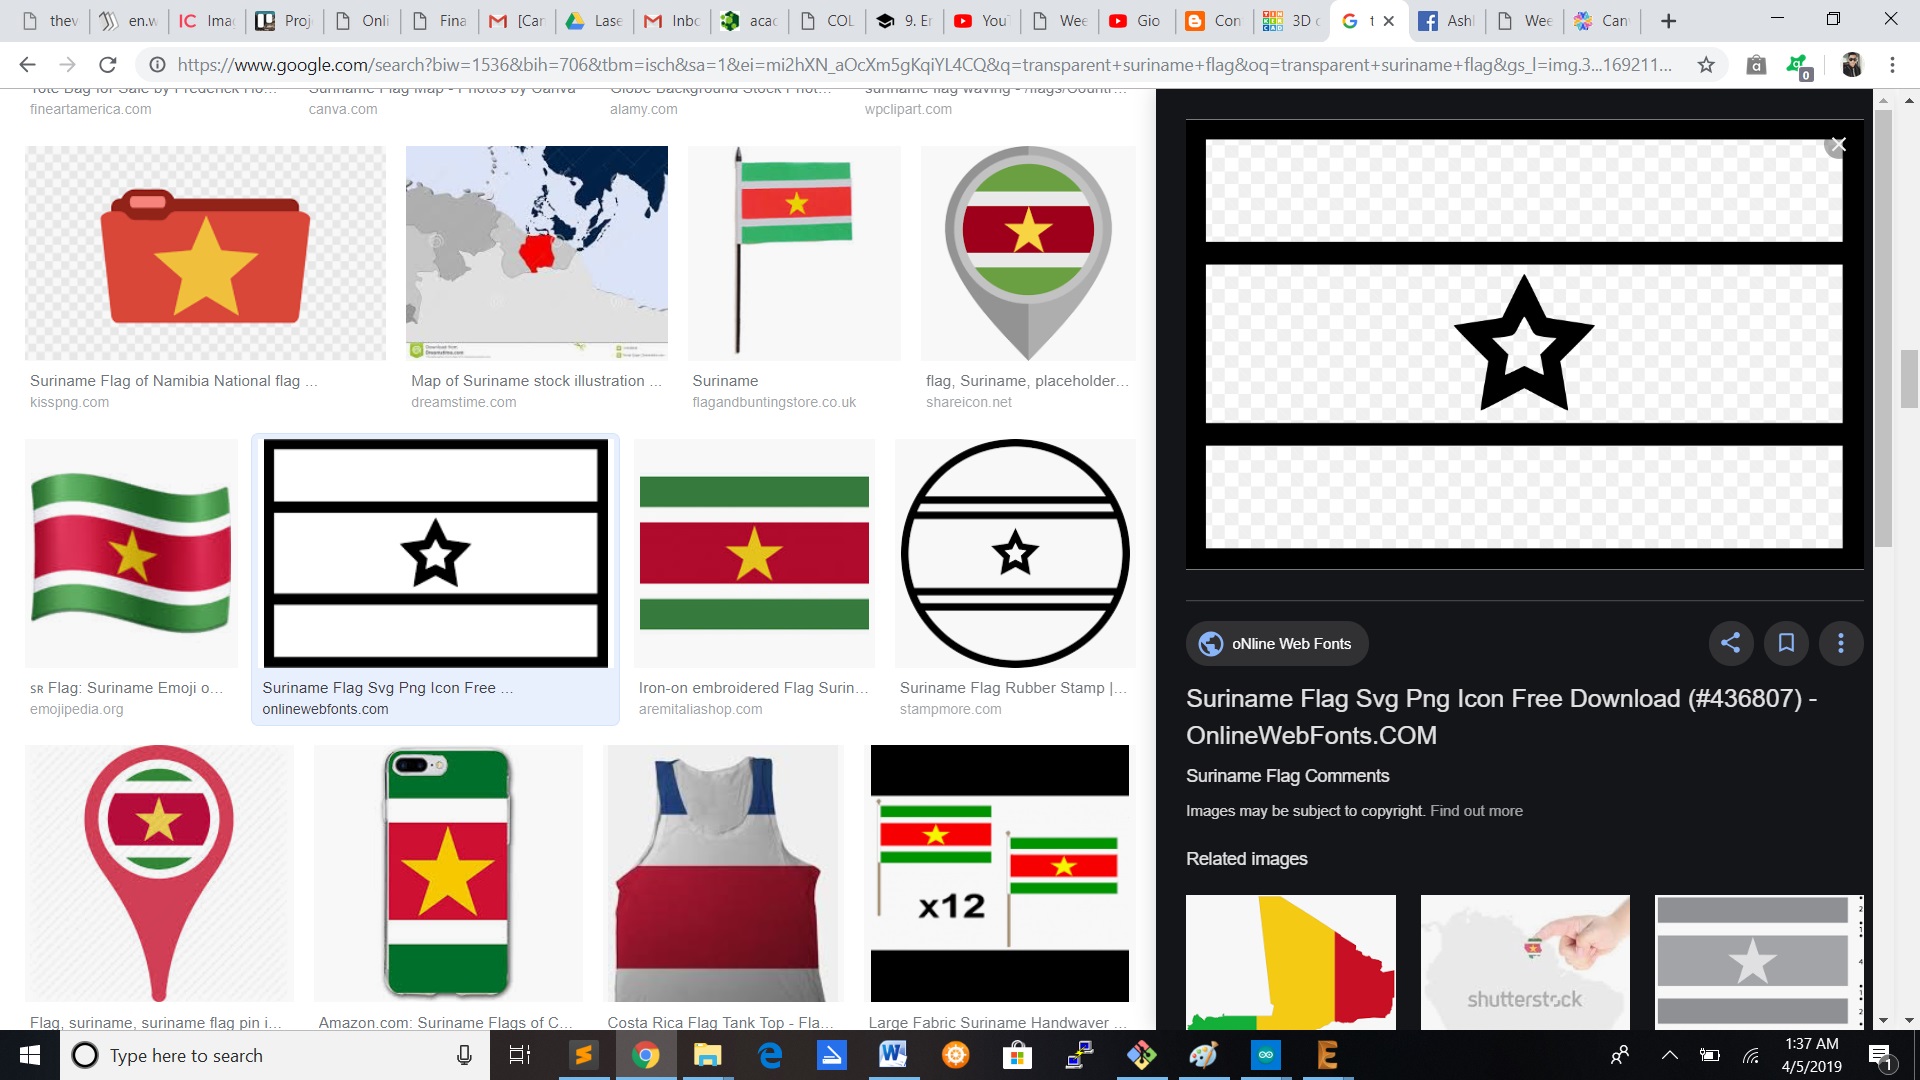
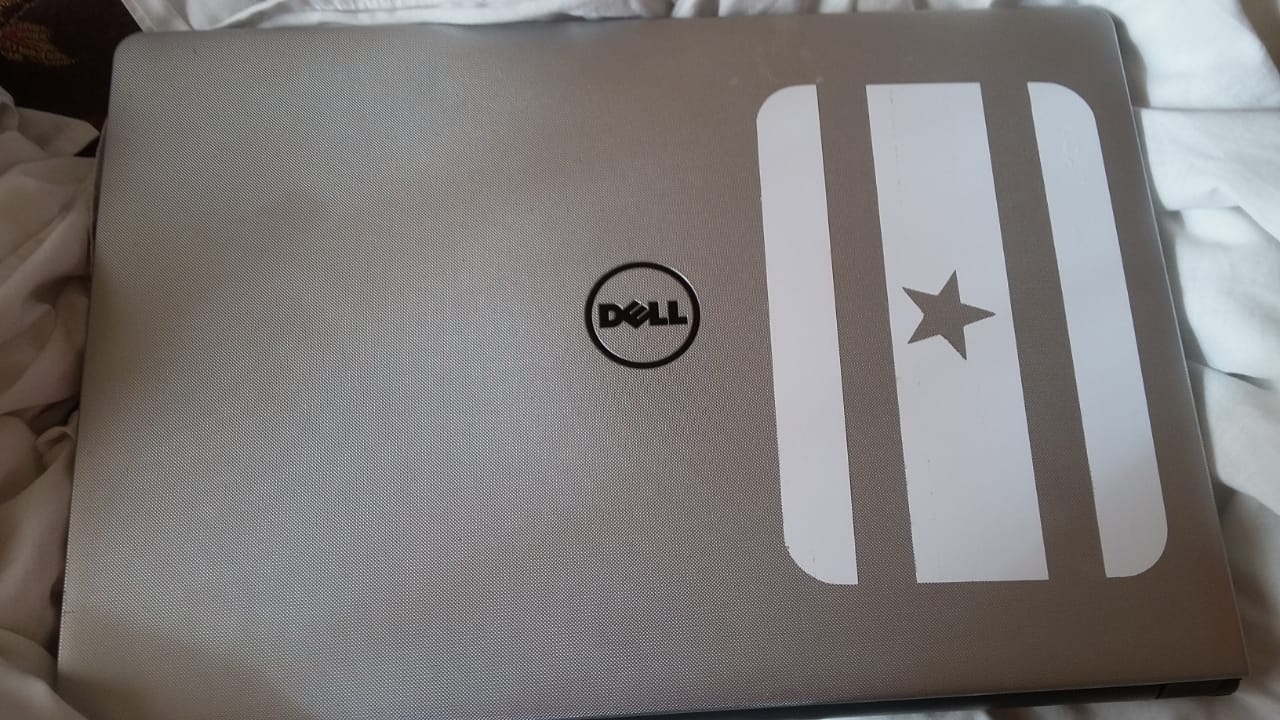
For the design i downloaded a transparent Suriname flag and then open it in Inkscape.
Trace bitmap the image in Inkscape
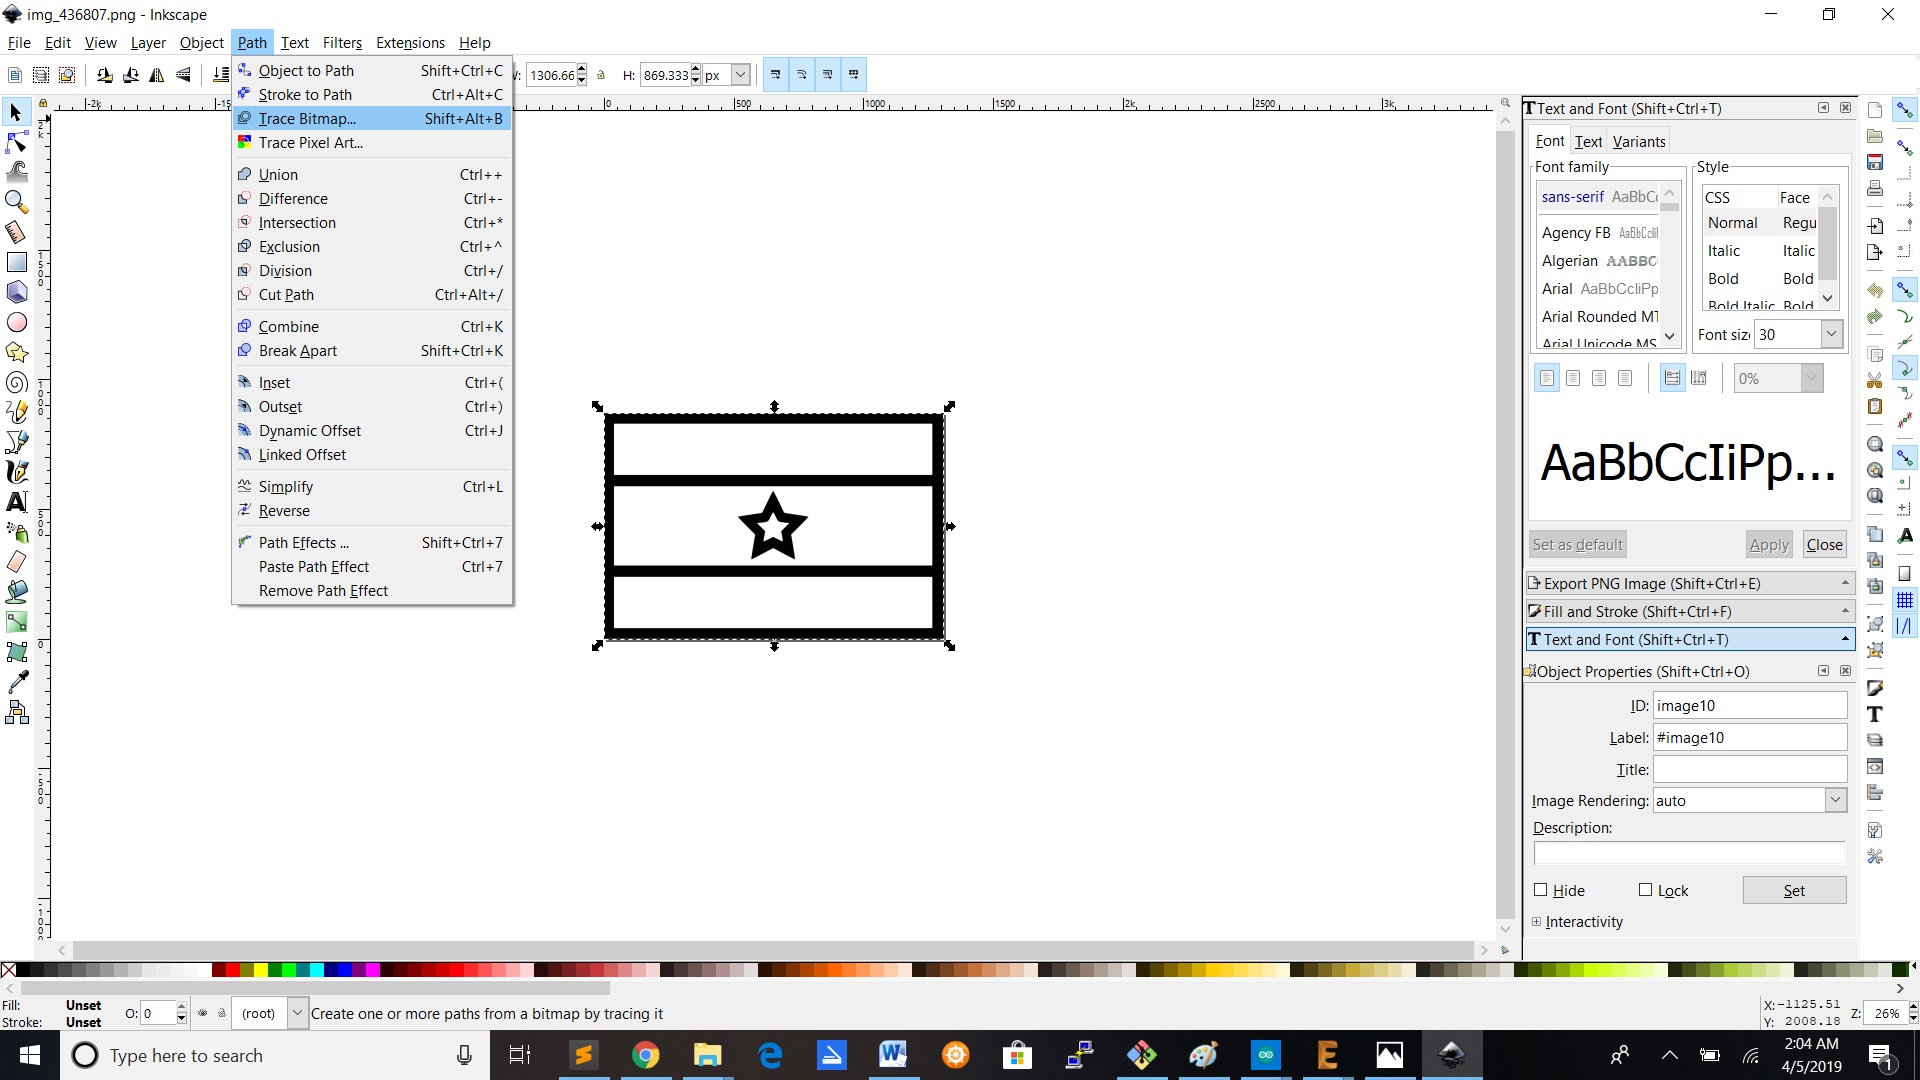
Save the file as .SVG format

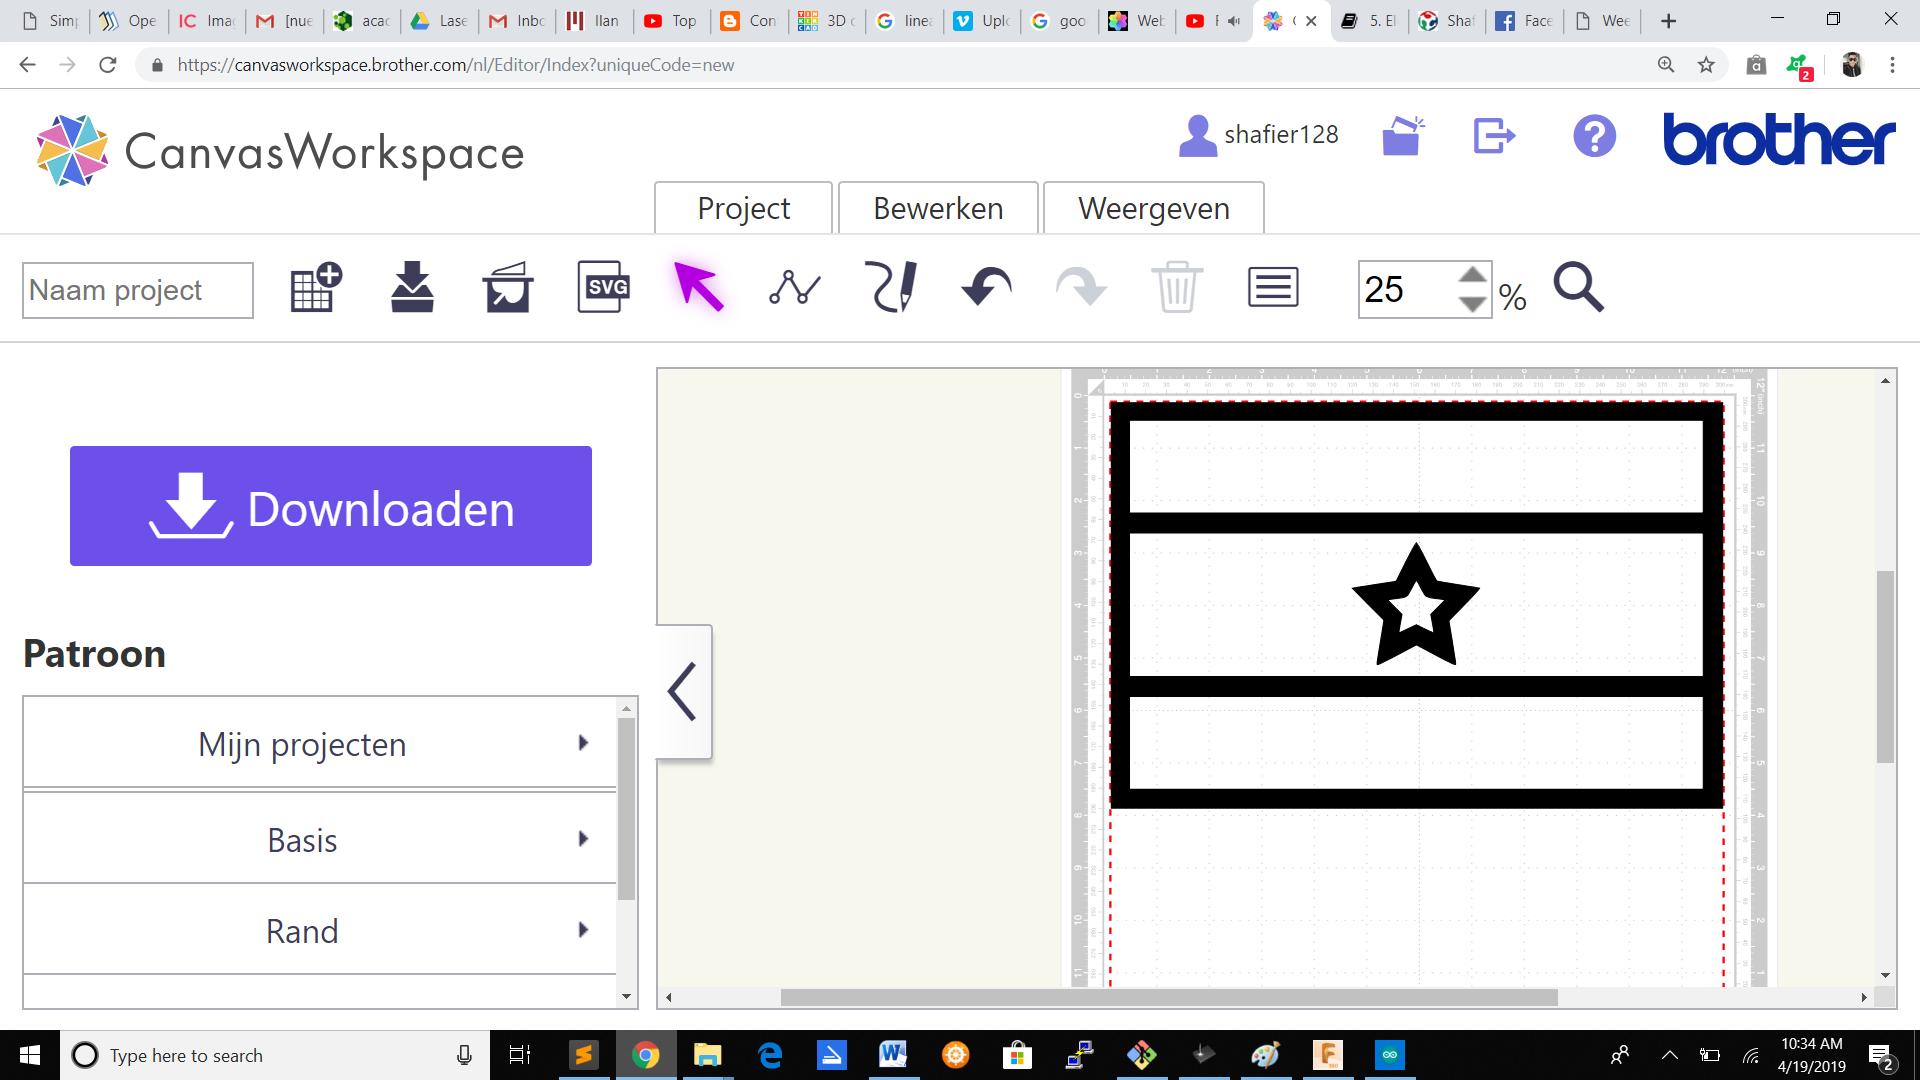
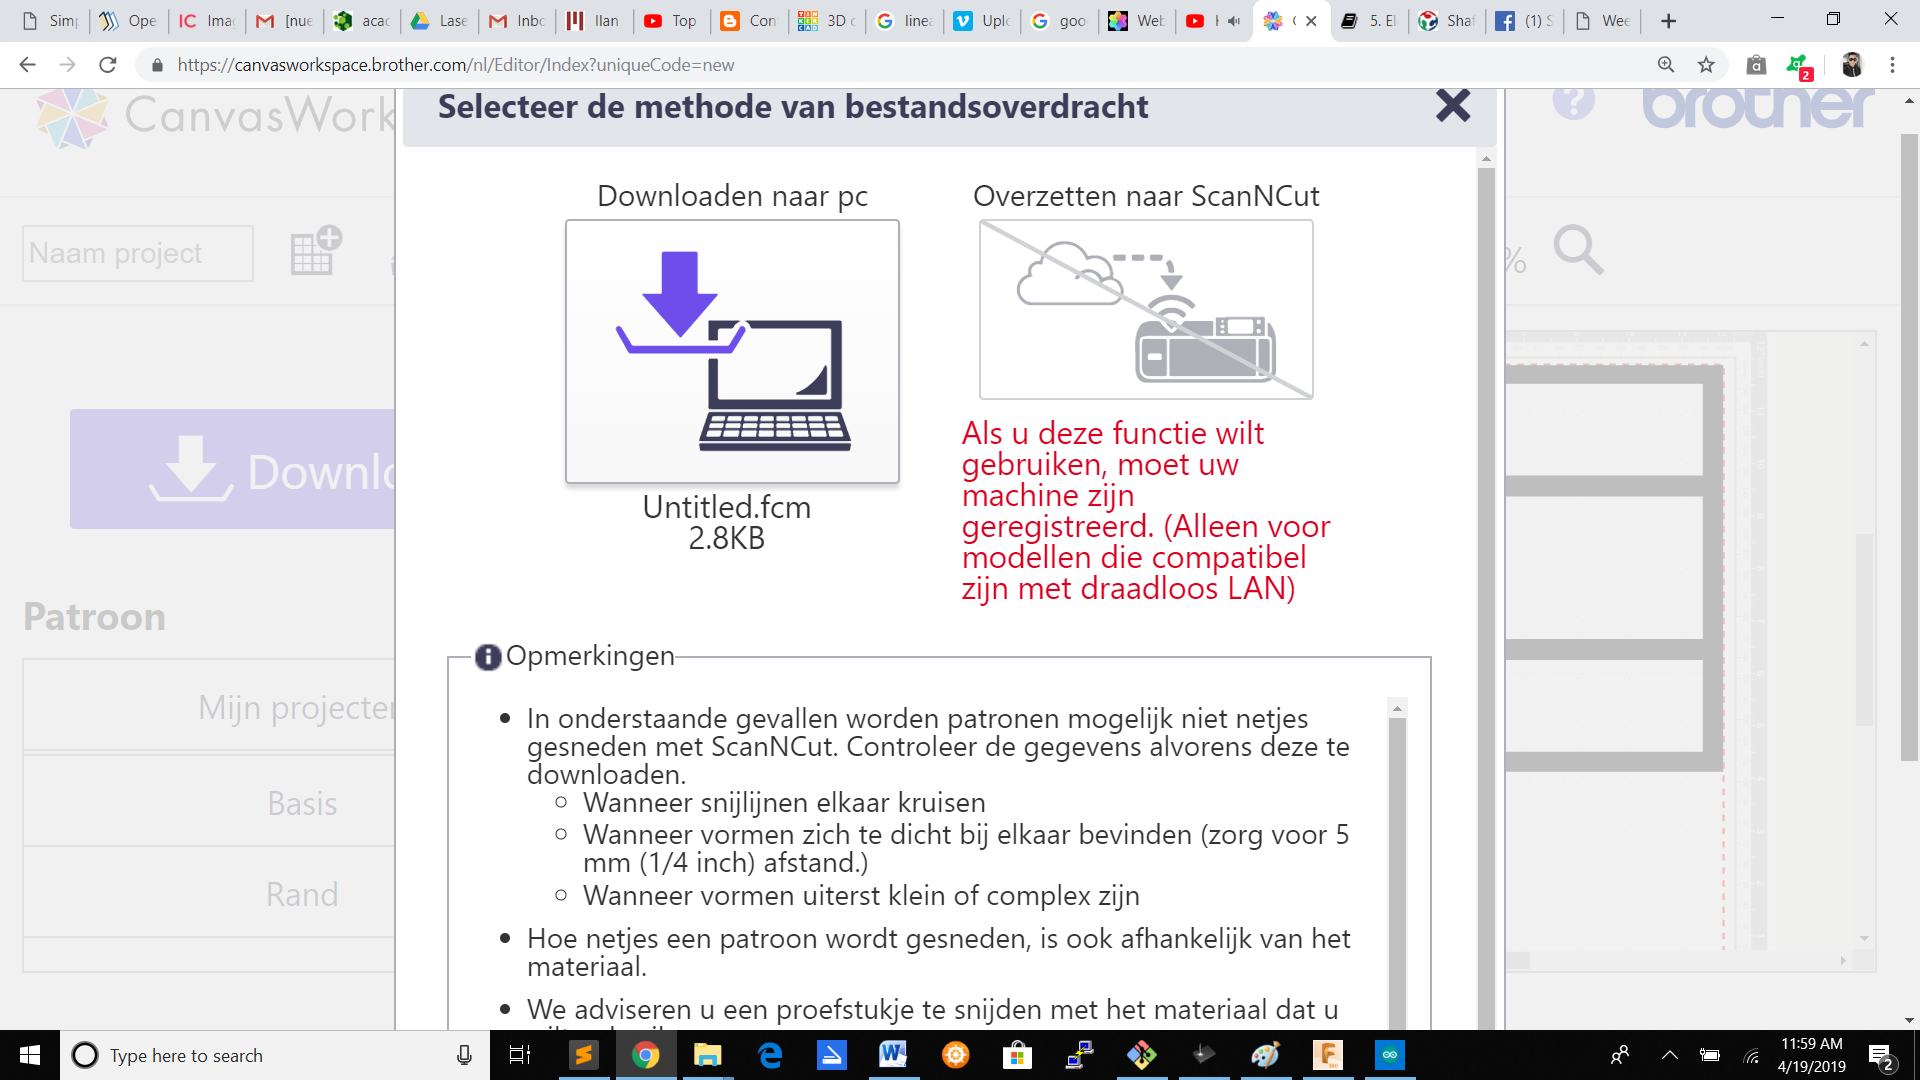
Open the .SVG file in canvas workspace
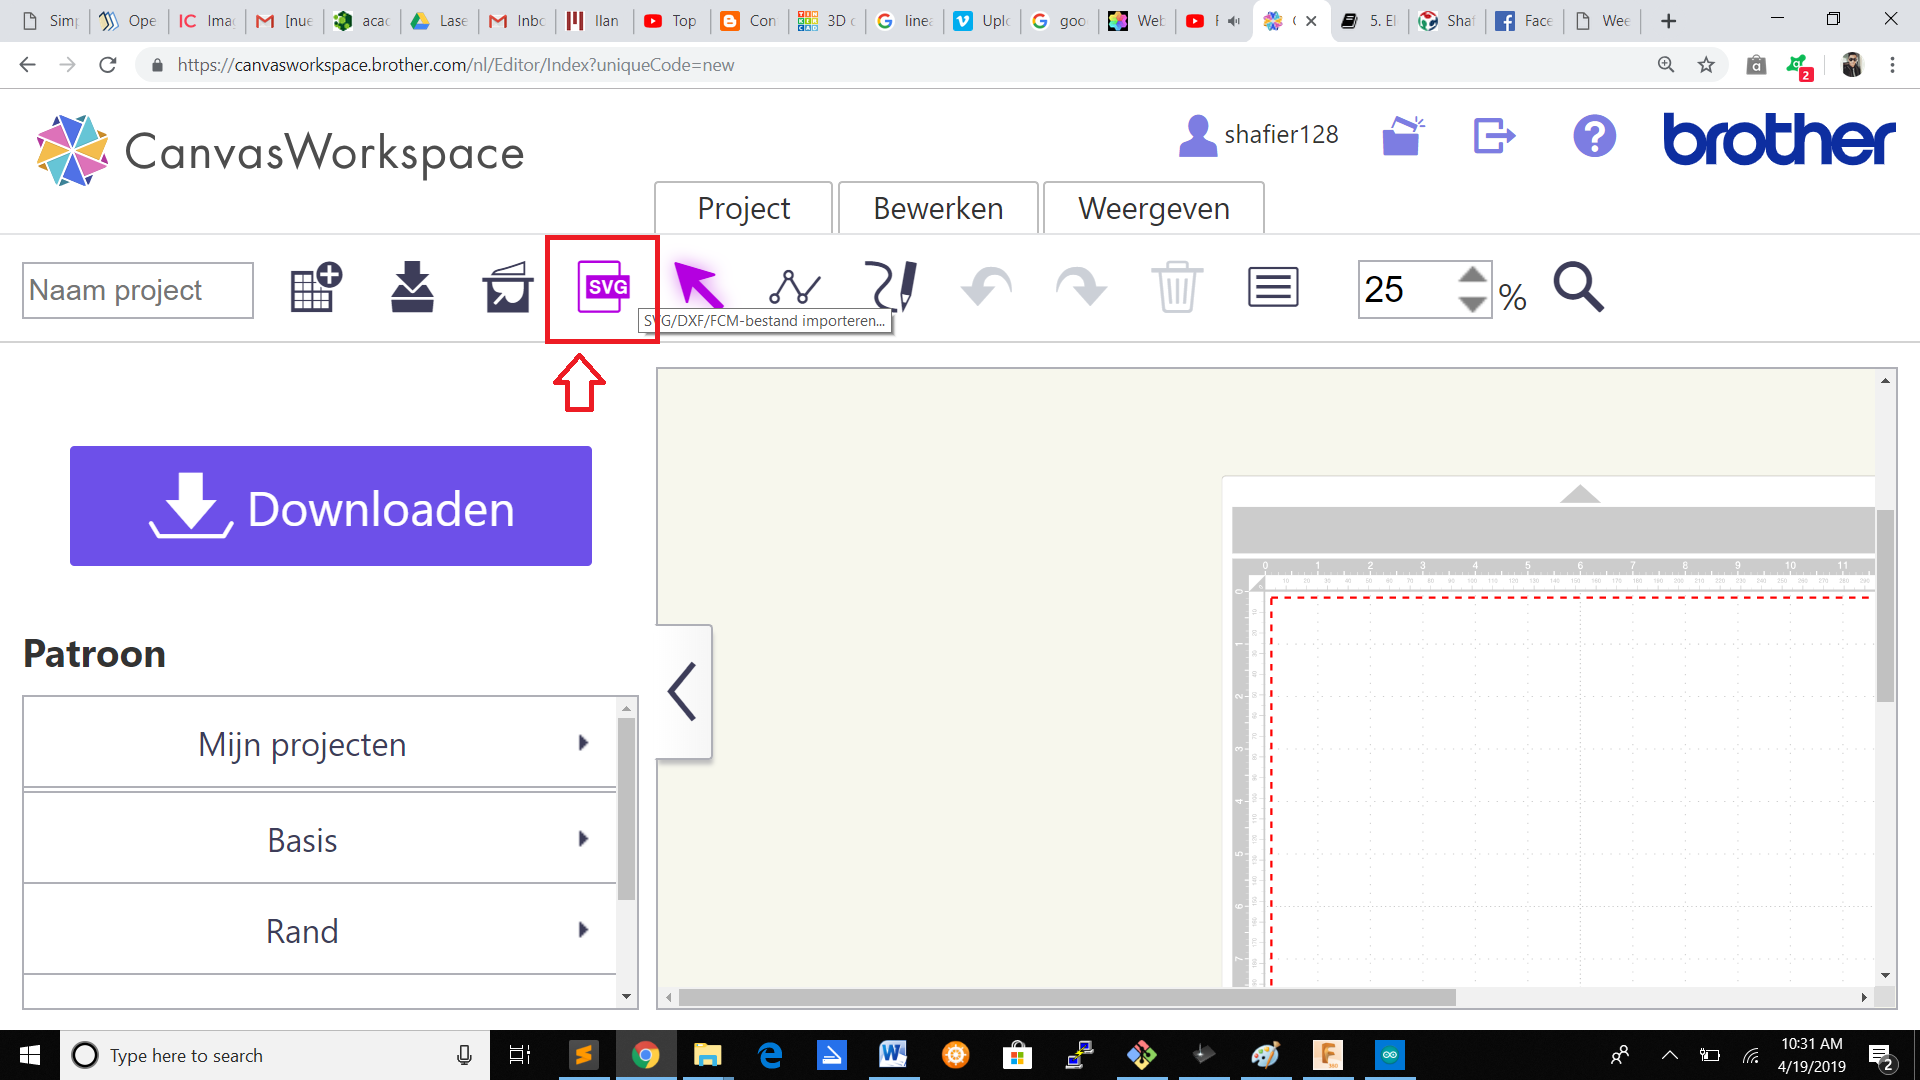
Download the file on a stick and the format you will get is .fcm.Plug the stick in the vinylcutter
1.Insert the stick into the vinylcutter
2.Insert the vinyl into the vinylcutter
3.Look for your design in the vinylcutter screen and then select it
5.Select to cut
6.Then press start
Vinyl cutter test
The tests looks like this :
Links
Presfit Design 1
Presfit Design 2
Presfit Design 3
Vinylcutter design
Inkscape trace design